
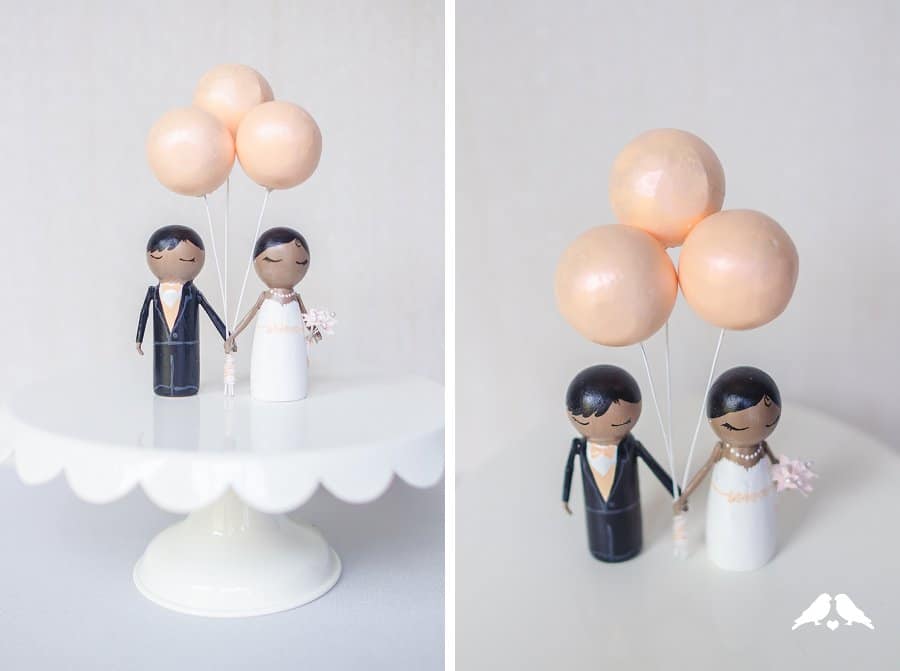
A little out of order this week – but we have Ribbons & Bluebirds today, sharing another one of her amazing DIY wedding tutorials from our DIY Cake Topper series (Part 1 and Part 2). Today she shows us how to make little mini balloons that you can add to figures, or really anything else that might need balloons on your cake or dessert! Balloons are awesome.
DIY Tutorial: How to Make a DIY Alternative Mini Balloons Cake Topper
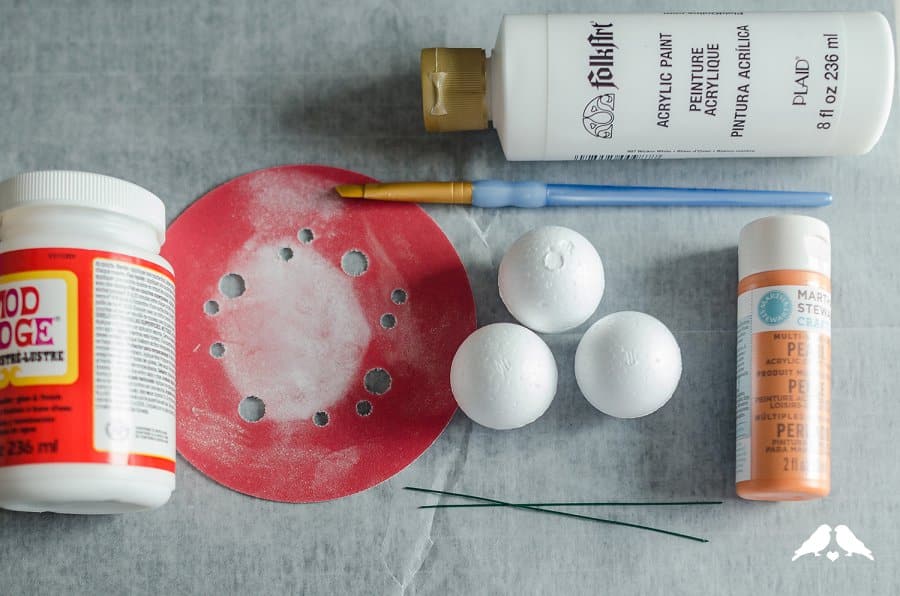
You will need:
• Smooth Styrofoam balls,1 1/2”
• Acrylic paint
• Fine sandpaper (I used 220 grit)
• Paintbrush
• Gloss sealer (Modge Podge)
• Iridescent powder (optional)
• Hot glue gun
• Straight wire lengths of about 6”
• Twine/string
Step by Step Instructions:
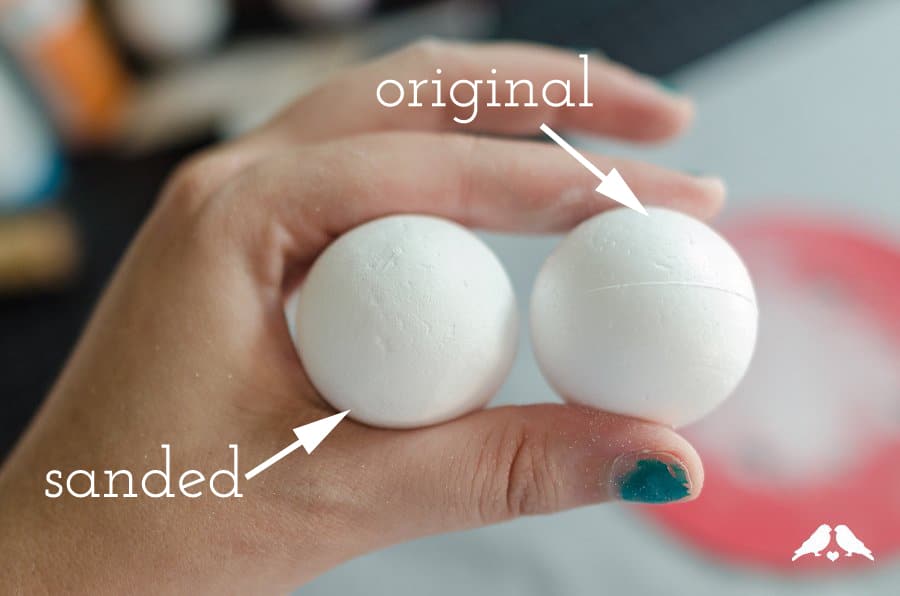
1. First step is to sand the foam balls, to remove any ridges from their manufacturing and to give the balloon a slightly more oblong shape. I found it easiest to rub the ball onto the sandpaper rather than the other way around (ignore the fact that my sandpaper is a disc for an orbital sander – it was the only 220 grit I had lying around the house.) Give a little extra sand to two opposite spots near the middle of the ball to flatten it out just a bit – this will make the balloon feel like a more natural shape than a pure sphere.
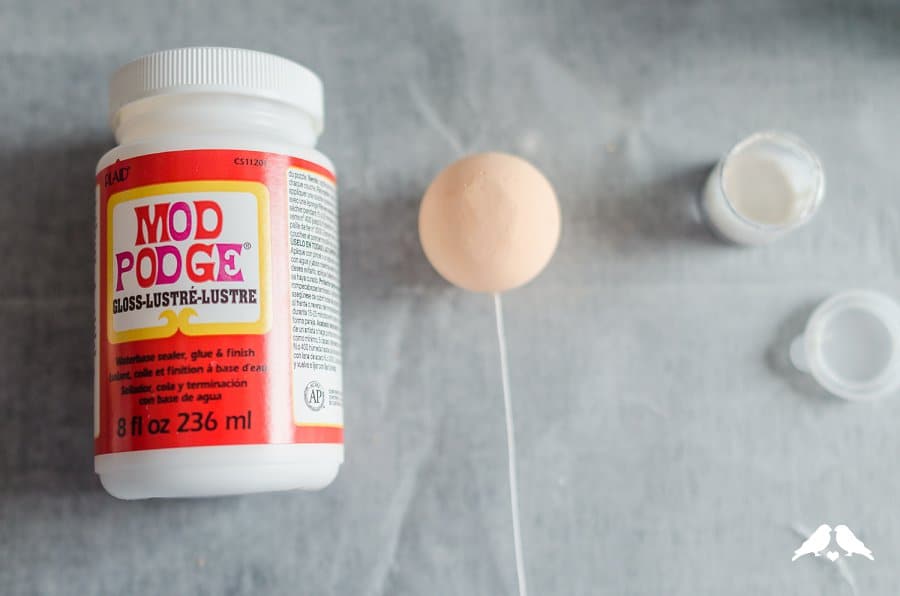
2. Paint! I used acrylic paint, which you’ll be able to see right away soaks better into the areas you sanded. Avoid leaving ridges of paint – it will take two coats, and that’s ok. To let it dry without smudging, I slid it onto a wire stick and stood the wire in a container of glitter.

3. While the balloons are drying, paint the wire sticks for your balloon strings (optional). I wanted mine to be white instead of their original green, so I painted them with white paint and used clothespins to help them dry upright without touching anything.

Click inside for the rest of this DIY mini balloons cake topper tutorial!
4. Once everything is painted, I found it easiest to attach the balloons to the wire sticks before I glazed them. Use your hot glue gun to fill the hole at the base of the balloon with glue, and insert your wire stick. Do embed the stick into the Styrofoam a bit for the most secure attachment.

5. To make the balloons nice and shiny, glaze them with a light coating of a glossy sealer like Modge Podge. For a shimmer, I added some iridescent red powder to my Modge Podge (Pearl EX mica powder).
6. If you want to tie your balloons into a bunch, arrange them flat first and tie a simple knot with twine. Then, put a strip of hot glue just under your knot, and wrap the twine strands around to secure.


That’s it, you’re finished! Now you can use your balloon bundle to add flair to any cake topper – perhaps even some dapper dinos? Or if you like Mario Kart as much as my husband and I. (Mario Kart cake photo credit Jenn Link Photography.)

Or a few more with Jen’s awesome peg people (Peg People tutorial coming soon!):


Have a great week Romancers!
[icon size=”small” image=”icon-heart”]


1 comment