Images & Tutorial: Jenn Heller Design Co
DIY Wednesday is back and it’s featuring our favorite (and most popular) topic: Paper Flowers! Jenn made us this ah-mazing DIY Watercolor Paper Rose tutorial a while back and it remains one of of most read & most pinned posts to date! So when Jenn said she wanted to tackle MORE and NEW paper flower tutorials, well of course I was done. For today she’s taking on the beautiful Cherry Blossoms AND DIY boutonnieres into one, rocking DIY tutorial: DIY Paper Cherry Blossom Boutonnieres. Take it away Jenn!
DIY Tutorial: How to Make a Paper Flower Cherry Blossom Boutonniere | By: Jenn Heller Design Co

The DC area may be known for its cherry blossom season, but getting those lovely fluffy bunches to your wedding is tough given their fickle timing and super delicate blooms. However, with a little time spent in advance, you can bring cherry blossoms into your decor with these cute little tissue paper boutonnieres!
The petite blooms can be grouped and used in a variety of ways depending on your style and how many of them you feel like making – from a small statement like this bout, to a crown for a flower girl, or even glued to branches for an archway or large arrangement.
The starting point for this tutorial is the popular basic paper rose – this one actually has fewer petals, just a more complicated center. These are definitely fastest to make in batches, and once you have the hang of the steps they come together quickly!
Details:
Time: Made in batches (you can assemble about 15 blossoms and 8 buds in 45 minutes)
Difficulty Level: Moderate
Cost: The batch mentioned above will cost about $30 if you have to buy all the supplies from scratch
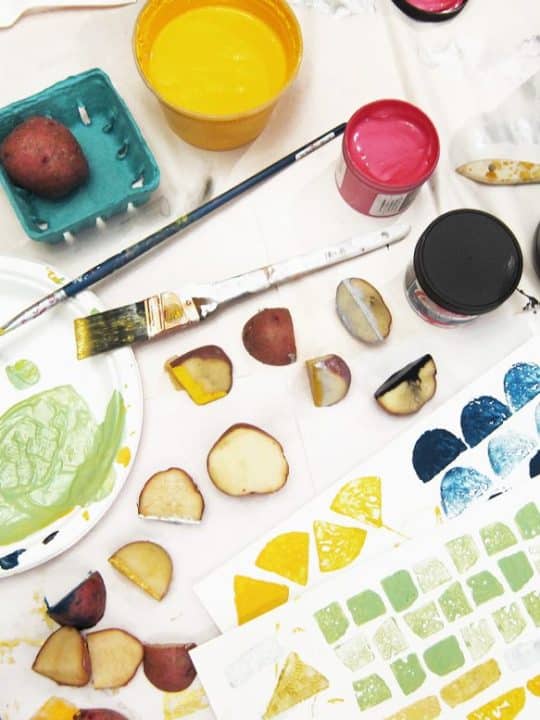
Materials you’ll need:

- Tissue Paper in pale pink, dark pink, and yellow – Paper Source sells it in individual color packs but you can pick up a multipack at Amazon or your local craft store
- Green crepe paper streamers (optional)
- Floral stamens – I bought these because I make a ton of paper flowers, but I like their long and skinny shape rather than a bulb on the end.
- Floral Wire – this stuff is pretaped, which will save you a ton of time, but any wire of reasonable thickness will do.
- Floral tape
- Baby safety q-tips
Tools:
- Scissors or rotary cutter
- Black or brown marker
- Glue – liquid, plus a glue stick designed for delicate surfaces
Let’s get started!

First, prepare your materials:
Either buy pre-wrapped floral wire, or begin by wrapping your wire with a thin layer of floral tape. This helps everything stick to the wire more firmly. Cut the wire into lengths of 4-5 inches.

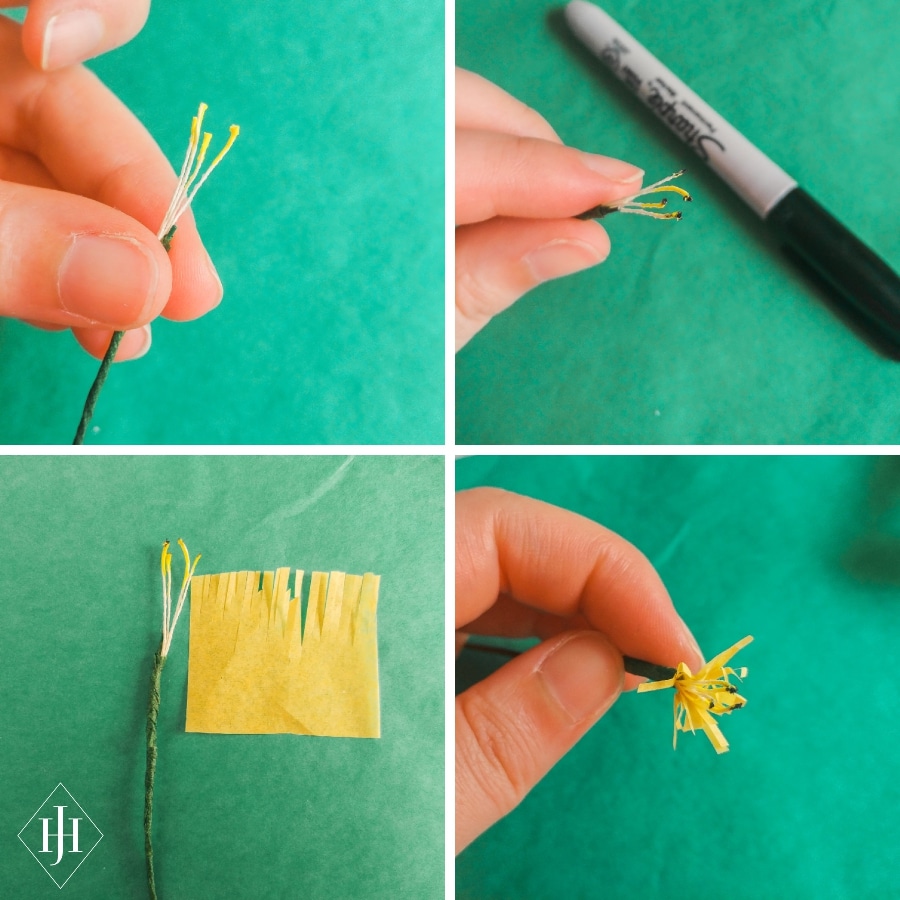
To make the blossom centers:
Cut your yellow tissue into 1” wide strips. Fold over several times until the piece is a manageable size, then use scissors to cut one edge into a delicate fringe. Unfold and cut 1-2” pieces off the length for each blossom you’re making.

Take your floral stamens and cut off any bulb end they may have. Cut the stamens in half (or fold them) and secure them to the end of a piece of wire with floral tape. You should have at least ¾ inch length or stamen projecting from the tape.

Wrap the yellow fringe around the stamen, trimming the length of the fringe as needed so that the stamens extend almost double the height of the fringe. Secure with floral tape.
To make the blossom petals:
Cut your pale pink tissue into 2” squares, and fold diagonally 3 times until you have a wedge shaped piece. Cut the outer edge of this piece into a rounded petal shape, and unfold. Cut out 2 of the 8 petals, so that you are left with 6 petals and a gap.

Gently apply non-wrinkle glue stick to one of the edge petals, then press the opposite edge petal on top to close the blossom and form a cone/cup shape. Cut a tiny hole off the bottom of the cone.

Pass the end of the wire center you already made through the hole in the petal cup, and pull most of the way through. Apply a dab of glue to the top of the floral tape edge of the stamen center, and then pull the center so that the petals cover the top of the taped area. Pinch and hold to allow the glue to set.

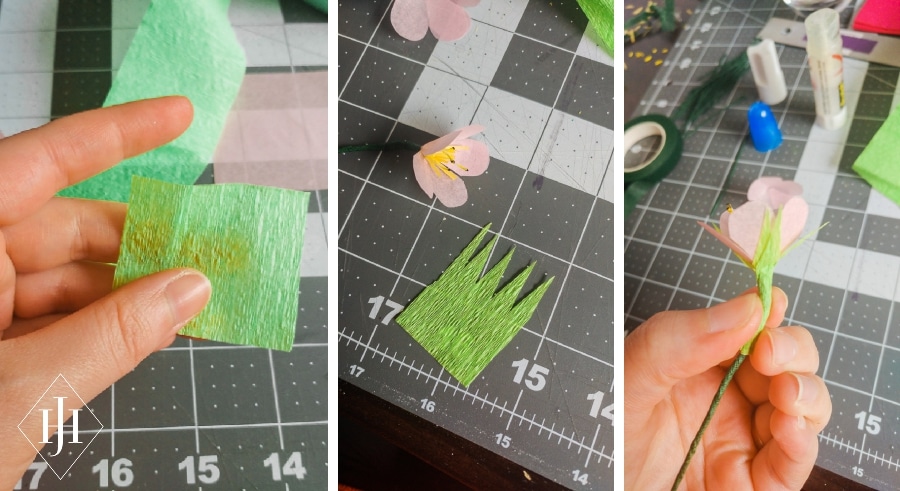
To finish the blossom (optional)
Cut a 1-2” length of green crepe streamer, and cut a series of jagged peaks into it so it resembles the green “grass” of a sushi divider. Apply glue to the flat bottom section of the piece, then wrap it around the base of the petals so the jagged edges come up and overlap the bottom of the blossom, being careful not to crush the shape of the flower. Wrap a final time with floral tape to secure and finish the stem.

To make a bud:
Cut the head off a safety q-tip. Insert a taped wire into the head and glue.
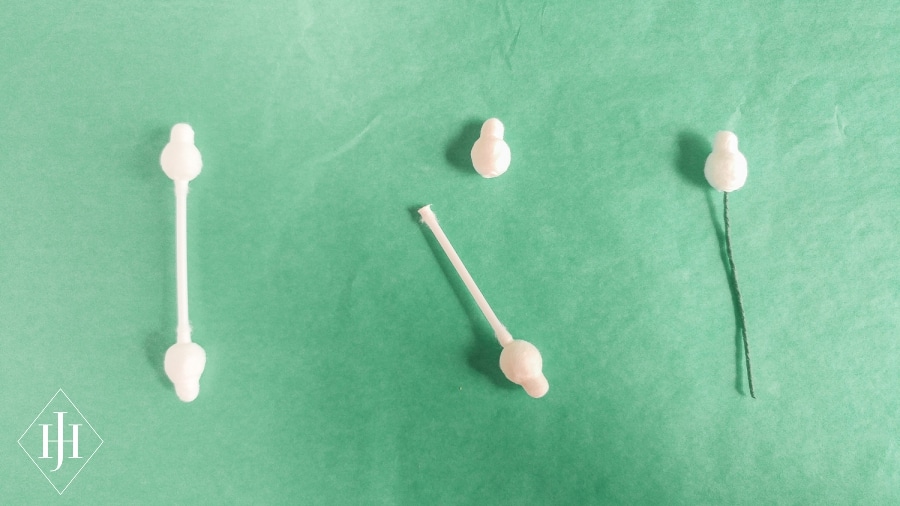
Apply liquid glue to the q-tip head. Using the same size 2” square from the blossoms, wrap the q-tip with pale pink tissue and gather it around the base where it meets the wire. Secure with floral tape.
Cut a teardrop petal out of dark pink tissue, and gently cover with wrinkle-free glue stick. Press it onto the bud and mold the edges around it’s shape to adhere. Wrap the base of the petal with floral tape to secure.

To assemble the boutonniere:
Attach the blossoms to each other in a staggered pattern at the ends of their taped wire, to give them separation. Secure with floral tape and bend the flowers away from each other as needed. Attach several blossoms and a bud together to create the size boutonniere desired. Wrap stem with ribbon or thread to suit your taste, and secure ends with glue.


Done! Let us know how you use this tutorial, we would love to see!
If you’re interested in paper flowers, I love the following resources (and watch this space, because we have more flower tutorials coming soon!):
Paper to Petal | Lia Griffith’s Crepe Paper Revival | The Cobra Lily on Design Sponge | Lia Griffith’s Extra Fine Crepe perfect for florals

*This post contains affiliate links.*