

Guys! Tomorrow is Christmas Eve and I STILL DONT FEEL READY. I have loads to bake, movies to watch, a house to clean, gifts to wrap, and THIS RAIN (and heat) ugh. They’re THE WORST. I am looking forward to the family time and celebrating Evie’s first for sure, but the weather could do its part a little too. We’re closing out the week this week (no posts on Xmas Eve or Xmas) with a simple DIY tutorial from our girl, recent bride, Kara. We’ll be back next week with posts to get you to the New Year! How is it 2016 in just a few days?!
[icon size=”small” image=”icon-heart”]
DIY Marbling with Nail Polish Tutorial | by: Kara Britanik
I’ve seen this DIY project floating around Pinterest a lot, and thought I would give it a try to pretty up some plain vases and planters I have around our apartment. It’s a great technique for a variety of vessels, and could easily be done for your centerpieces or part of your table decor. Plus, then you’ll have some pretty things to keep around your house after the big day!
I would highly recommend that you read ALL of the steps to this tutorial before you attempt it because you’ll need to move pretty quickly once you get started.
Supplies:
– Nail polish (I would suggest 1-3 colors so it doesn’t get too muddy looking)
– Bowl (a disposable container or piece of Tupperware will do)
– Warm water
– Toothpick or plastic knife
– Votives, vases, planters…whatever you want to marble

Steps:
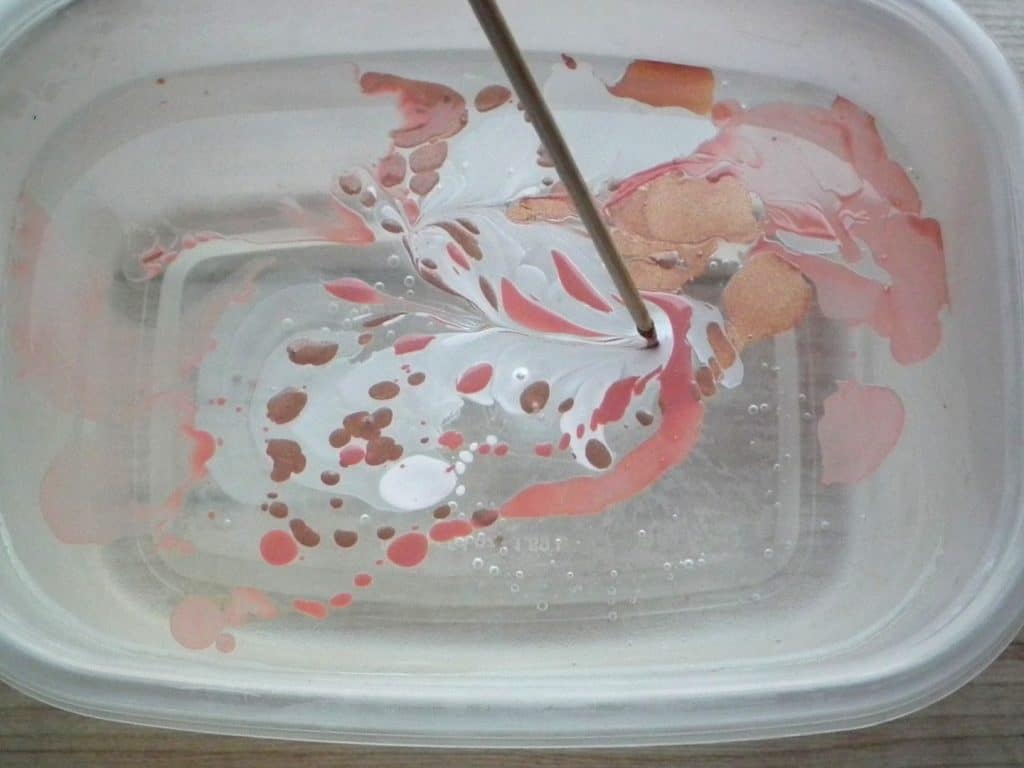
1. Fill your bowl with warm water. Pour your nail polish into the water. You can either let it drip in, or you can pour it in a slow steady stream around your bowl. Do this with each color, as quickly as possible.


2. If your colors aren’t swirled together much, you can use a toothpick or plastic knife to make a swirly pattern.
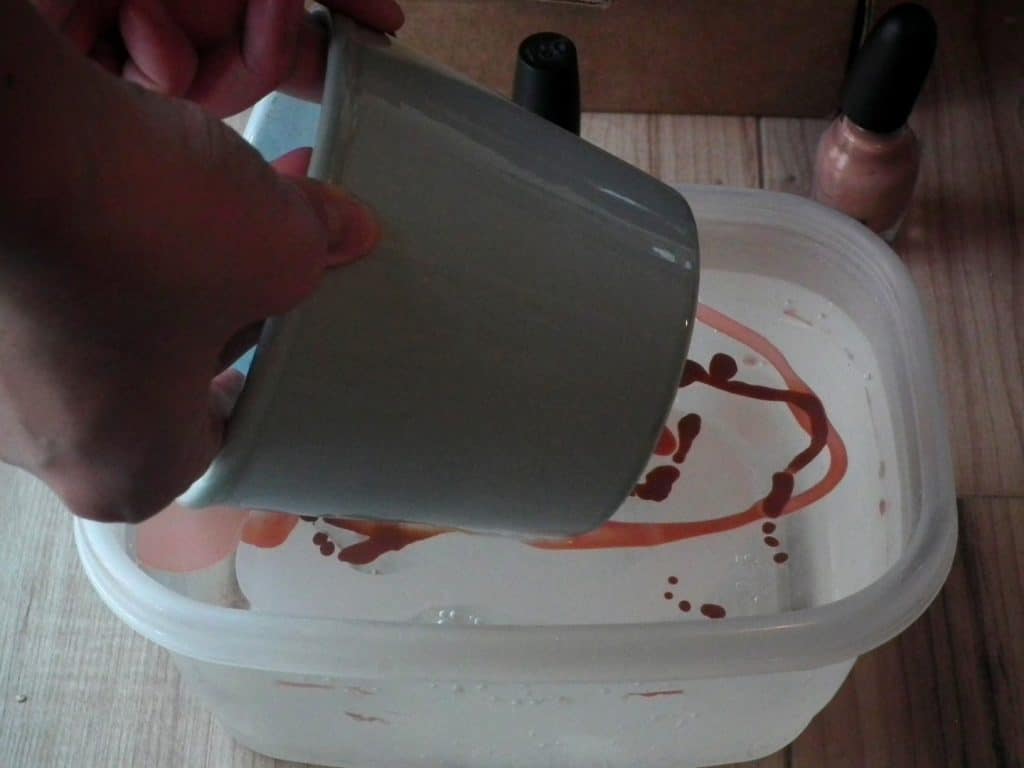
3. Once your colors are in the water, it’s time to dip! There are 2 methods to choose from here. The first method is to hold your vessel on its side so it just grazes the surface of the water/nail polish. With this method you’ll have to spin your vessel until all sides are covered with the nail polish.
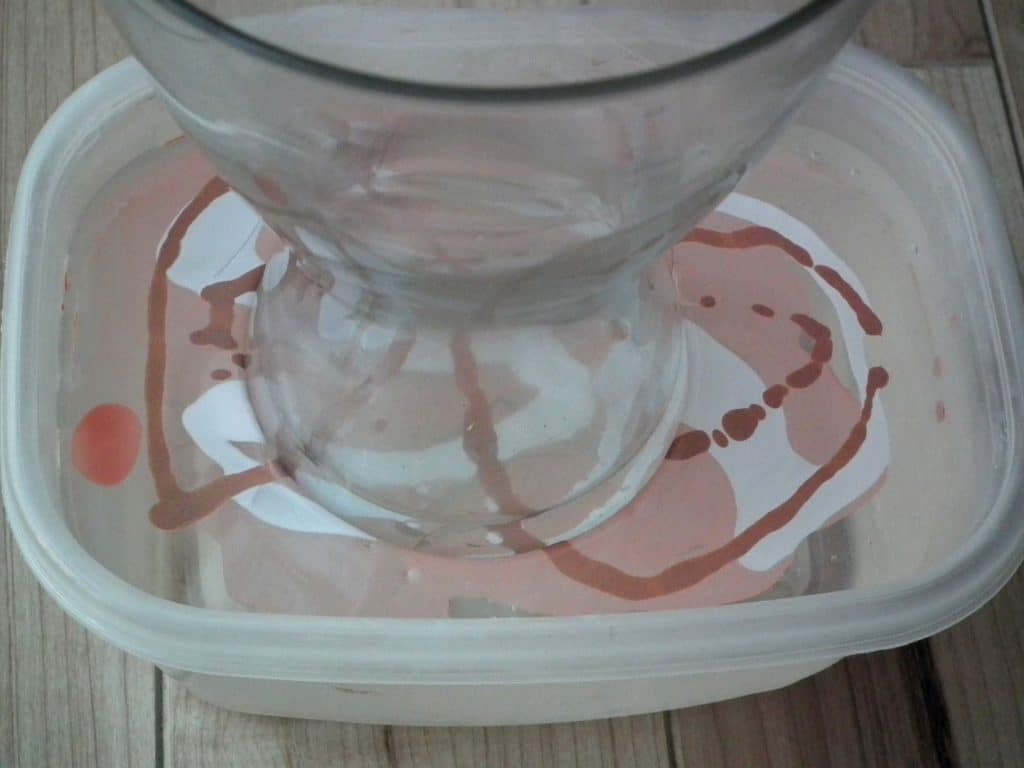
The second method is to just submerge your vessel in the water. A quick dunk is all it takes for the nail polish to stick. If there is any nail polish remaining on the surface of the water, you can always use the 1st method to fill in any bare spots.
4. Once you’ve dipped your vessel, let it dry upside down. And that’s it! Easy as pie!

**PRO TIP**: The great thing about this DIY is that if you mess up or don’t like the look, you can easily start over. Just clean off your vessel with nail polish remover and try again. Because you have to move fast with this project, I would recommend dipping 1 piece at a time, pouring new nail polish for each piece. This will help prevent any bubbling or clumping of the nail polish on your vessel.


