

Images & Tutorial: Ribbons & Bluebirds
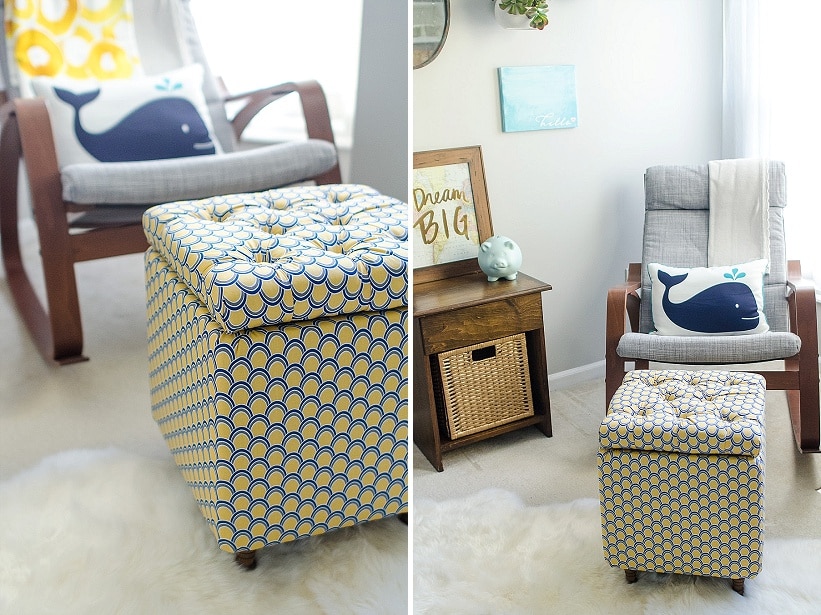
We’re back for DIY Wednesday with Part 1 of a DIY tutorial to make a super awesome upholstered storage ottoman – perfect for a home office, bedroom or nursery. I took the easy way out and bought a super cheap yellow one from IKEA for our nursery, but DIY maven Jenn’s is SO MUCH more awesome. One because she made it, and two because it’s completely customized! Take it away Jenn!
How to Make a DIY Storage Ottoman – Part 1: Building the Box
Perhaps you have noticed a trend in my DIYs lately: I am very deep into my nesting phase. This is coming from someone who is pretty much always in a nesting phase, pregnant or no, so you know when it comes to my nursery I have been going a little overboard.
One of the trends I have been seeing a lot of in design and retail right now is the small storage ottoman – perfect for small spaces and a great way to keep clutter neatly tucked away. I see this little ottoman as being a perfect place to tuck toys, books, or spare blankets! This tutorial is long, but definitely not complicated, and would be a great place for a beginner upholsterer to start. Today we’re looking at part one: building the box. Check back soon for part 2 when we dive into the upholstery!
Materials (should all be available at your local hardware store or of course via Amazon)

- ½ plywood, cut into the following sized pieces*:
- (4) 12×11” – sides
- (1) 11.5×11.5” – bottom
- (1) 12.5×12.5” – top
- (1) 11×11” – top lip
- (8) corner braces, ¾” 1-hole
- (8) Corner Brace, 1 1/2″ Steel
- (48) 1/2” #8 screws
- (4) furniture feet (like these Choice Parts – 3 Inch Dark Walnut Plastic Sofa Legs (Pack of 4 Replacement Feet) 5/16″ Size Bolt
)
- (4) pronged t-nuts – thread dia. must match chosen furniture feet.
- Wood stain (We like Minwax 70012 1 Quart Wood Finish Interior Wood Stain, Dark Walnut
)
Tools needed:
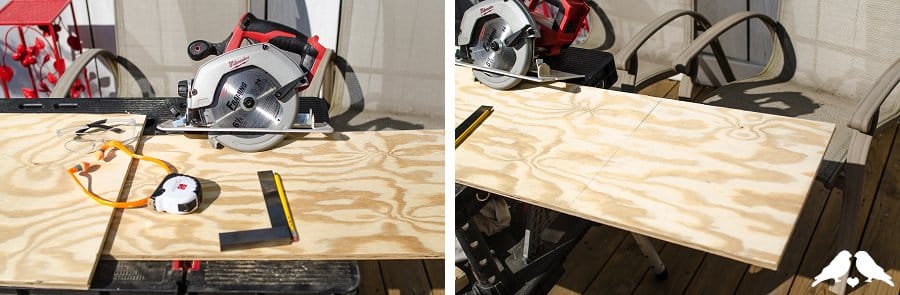
- Saw, if you are not having your pieces cut at the hardware store
- Power drill and 3/8” drill bit
- Hammer
- Wood Glue and clamps
*NOTE* if you use a thickness other than ½”, you will need to resize some of the pieces of this list as some factor in material thickness. See diagram to determine your cut list.

CLICK INSIDE FOR THE REST OF PART 1 OF OUR DIY STORAGE OTTOMAN TUTORIAL!
If you’re cutting the pieces yourself, follow the cut list and diagram above to cut the 7 pieces you’ll need for the ottoman. If you’re having someone else cut the wood for you, simply hand them the list :)
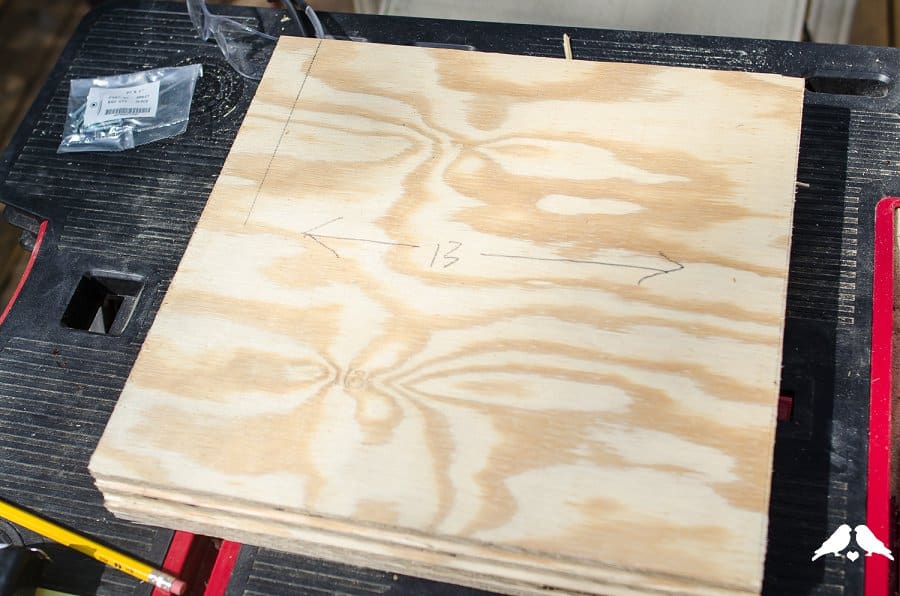
Because the pieces are so close to square, I would label each of your sides to help you know at a glance which sides are the top and bottom, and which are the left and right corners. I did this with a 13 and arrows – my ottoman is a slightly different size because I started working with some leftover plywood, so please ignore the numbers you see in the photos.
Don’t be alarmed if your box has some gaps, or is not perfectly square – this is just a base for the upholstery and doesn’t need to be perfect! Every exposed piece of plywood will be covered in your finished product.
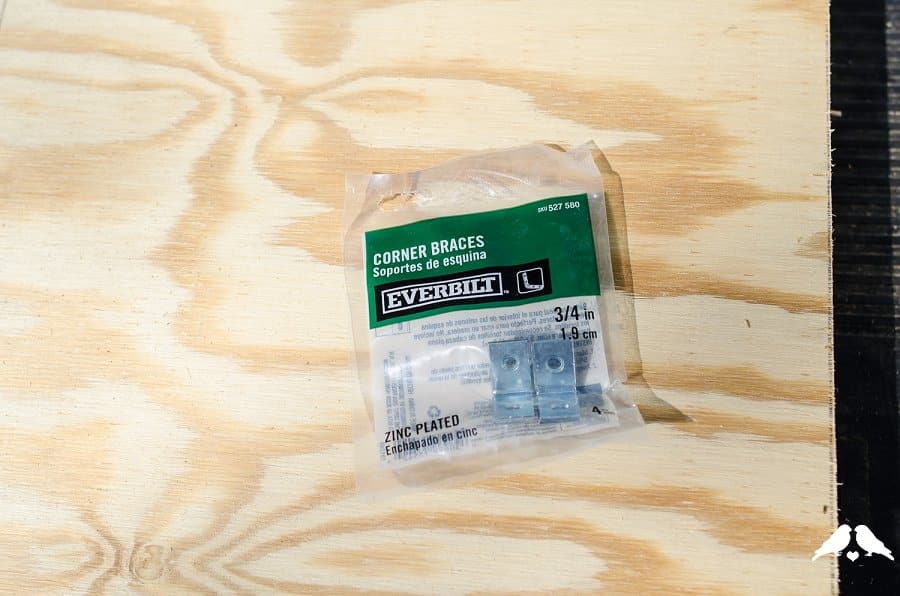
After your pieces are cut, start with the side pieces and make the box. Use the small corner braces to attach the sides together (see diagram if you’re confused.) Offset the braces at least 2” from the top and bottom edges – this will make your life easier when you’re adding the upholstery. The piece you cut for the bottom should fit inside the assembled sides – if this is a super tight fit for you then I would consider assembling the sides with the bottom in place, or not screwing the side screws in too tightly to allow you to adjust when you do attach the bottom.

To assemble the sides, line up your sides in pairs and mark holes for the screws. Then attach the braces to one side, line them up with the pre-marked holes on the other side, and attach. Don’t be surprised if your sides angle inward a bit to create an acute angle rather than a perfect 90 – you can always loosen the screws when inserting the bottom to even things out. Like I said before, don’t be alarmed by gaps either – as long as the box is sturdy, it will look great in the end covered by the upholstery.


Fit the bottom inside the box, and lay the whole thing flat to mark screw holes for the larger corner braces. Attach two braces per side, inset at least 2” from each corner. Once the bottom is attached, flip the cube over. Use a ruler or square to mark where your feet will be attached – I used a distance of 1.5” from each outer edge for my narrow feet.

Determine the size hole you need to drill for your t-nuts. Looking at the package for mine, the hole diameter is the last number on the package – 3/8.” With the bottom still attached, carefully drill at each crosshair you just marked.
Flip the box back over and mark at least one inside side and the coordinating bottom face to allow you to put it back in the same place (I used an “a” and a “b”) then remove the bottom. Place a small amount of wood glue on the outside of your t-nut spindle and under the flange, then hammer it into the bottom of the base until it is as flush with the surface of the wood as you can make it. The first photo is of the t-nut before hammering – reference the photo where I am staining the feet to show you how firmly the t-nuts should be hammered in. Set the bottom aside to allow the wood glue to dry.


With the bottom still removed, place the cube face down on top of the lid piece – the corners should be flush. Trace the inside of the box onto the bottom of the lid, so you have a guide to attach the lip piece that will keep the lid from sliding around on the finished ottoman. Remove the sides, and line up the top lip inside the traced pencil outline. To account for the upholstery padding, make sure there is at least ¼” between the traced line and the lip piece around all sides. If there isn’t you may want to trim the piece down slightly. Use wood glue and clamps to attach the top lip to the top, centered inside the traced outline, and leave to dry.


While you wait for glue to dry on both the top and bottom pieces, now is a good time to stain or paint your wooden feet. I stained each foot and then loosely threaded them into the t-nuts to let them dry.

Once the glue is dry, re-attach the bottom. Now the box is finished, ready for upholstery in part 2!


