
A few weeks back we shared this awesome DIY tutorial on how to make mini balloons for your wedding cake topper. The mini balloons could be inserted to just about any cake topper, but the tutorial featured these adorable, custom mini peg people (that mirror the bride and groom) and for today, Ribbons & Bluebirds is going to tell you how to make those mini peg people! Take it away Jenn!
DIY Tutorial: How to Make Alternative Mini Hand Holding Peg People Cake Topper

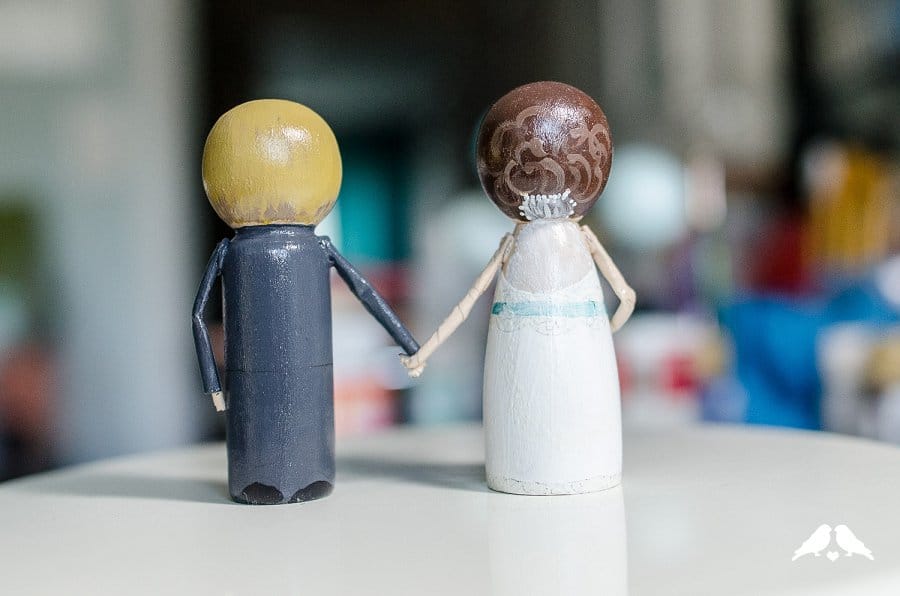
I came up with the idea of painted peg dolls with arms, because I wanted to have something hold my balloon bunch topper. Painted peg dolls are very popular as toppers because you can customize them to look just like you!!
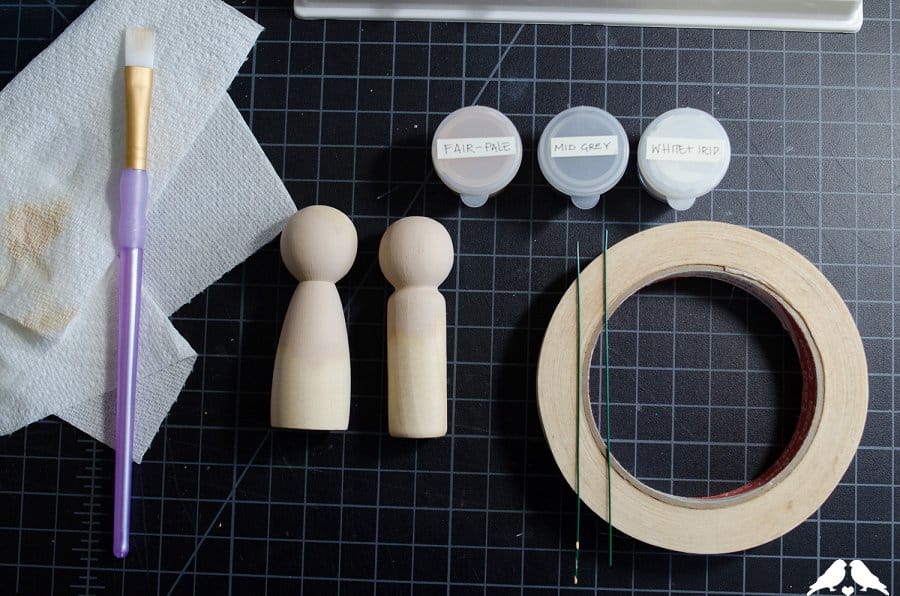
You will need:
- 2 wooden peg dolls, roughly 2” tall
- Approx. 6” of straight wire
- Masking tape
- Acrylic paint
- Hot glue
- Modge Podge or other sealer.
- Floral stamens (optional)
Step by Step Instructions:
Step 1: Paint your dolls, and give them time to dry. Make sure you have leftover paint for both skin colours, as well as the suit or shirt colour if one of your dolls has sleeves. I recommend this excellent tutorial on how to paint the dolls (minus painting the arms, since you’re going to add those later): https://blog.etsy.com/weddings/paint-your-own-cake-toppers/

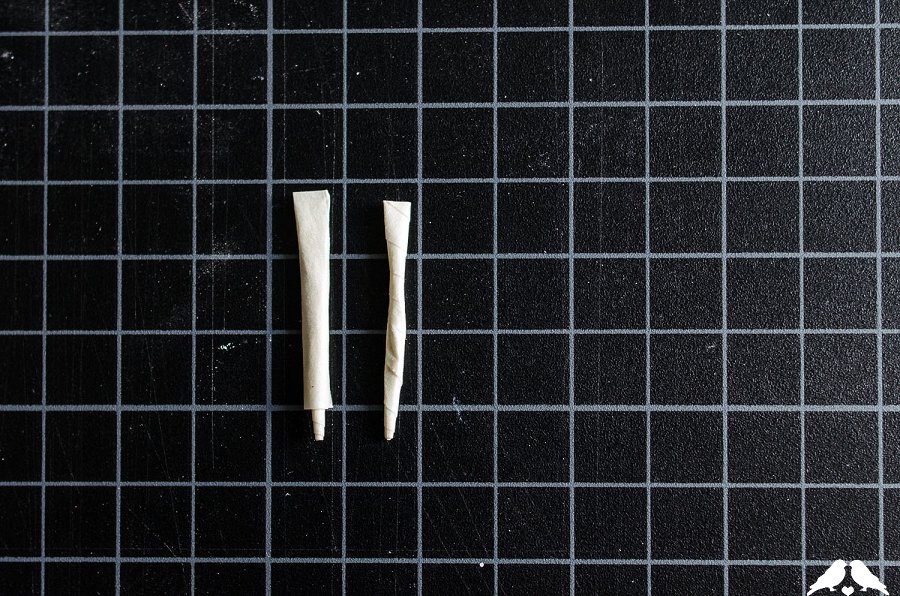
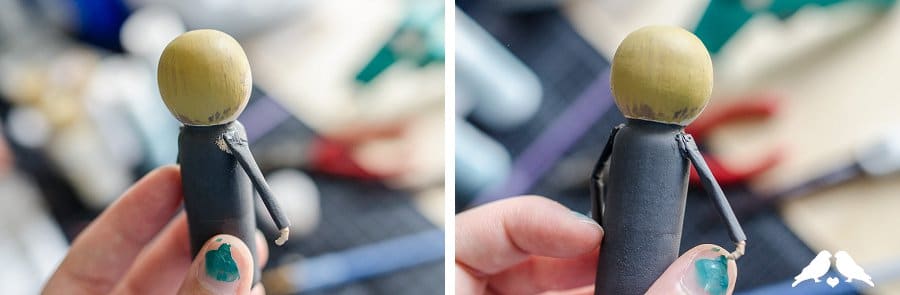
Step 2: To make the arms, hold the piece of wire up to the “shoulder” of the peg doll, and cut it to just past the “waist” of the doll. Cut 3 more pieces of this length.
Wrap all 4 wire pieces in masking tape, tapering the tap from narrower at the “hands” to wider towards the shoulder. Let the masking tape extend slightly beyond the wire to give you flexibility in the length later.

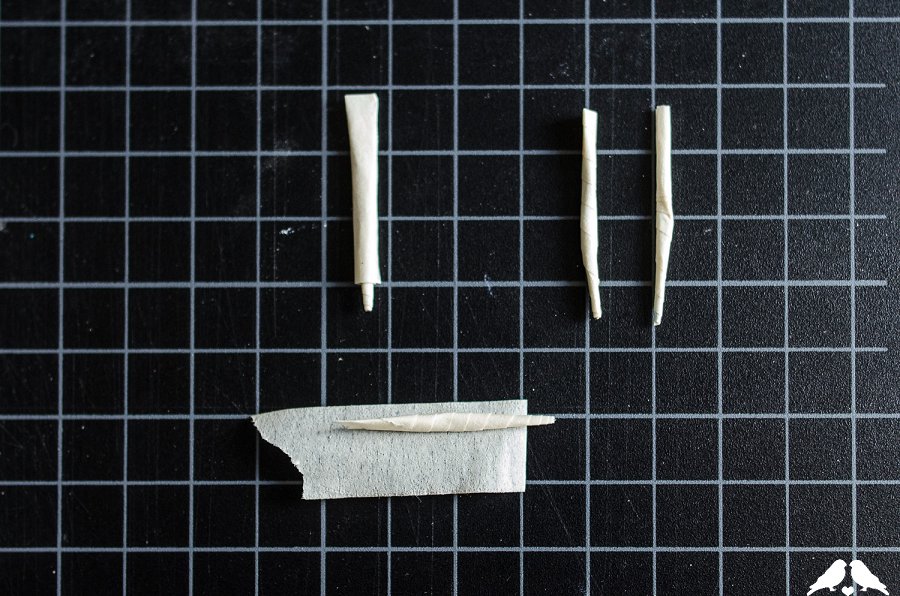
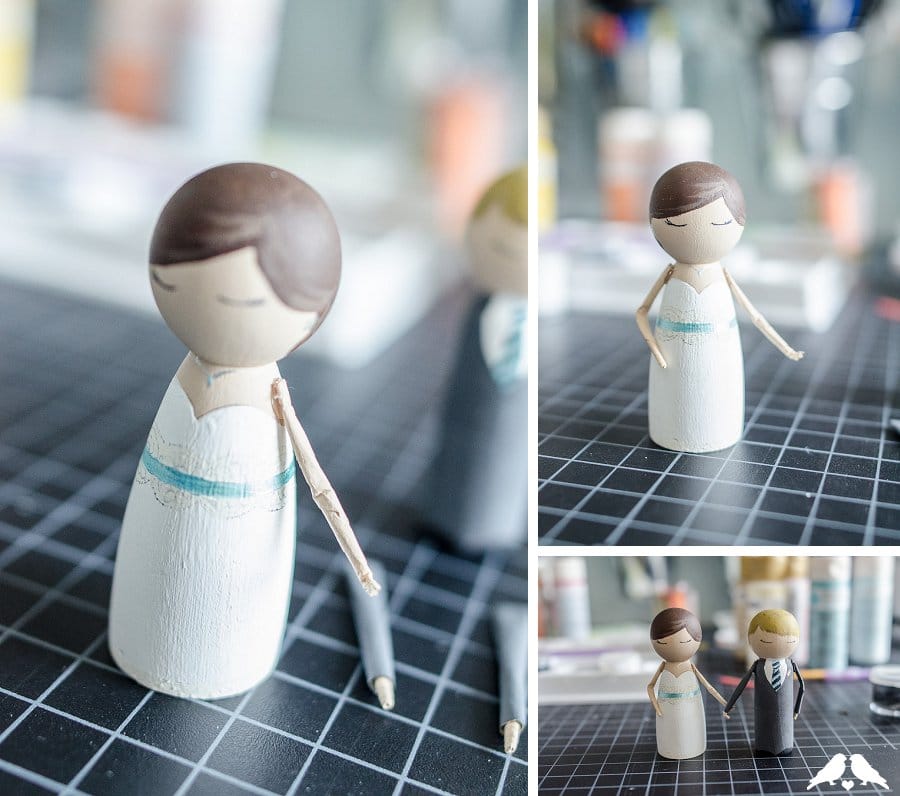
Step 3. To make a sleeve, start by tearing off a piece of masking tape longer than the arm. Trim one end to give the sleeve a clean edge, and line up the arm parallel to the long edge of the tape. Place the arm near the top edge of the tape with the “hand” sticking beyond the edge. Wrap the arm in the tape lengthwise to form a smooth sleeve, pressing down on the edge to secure the tape.
Step 4: Paint the arms, using your skin tone on the hands and bare skin and shirt or jacket colour on the sleeve. Let dry.

Click inside for the rest of our Mini Peg People DIY tutorial!
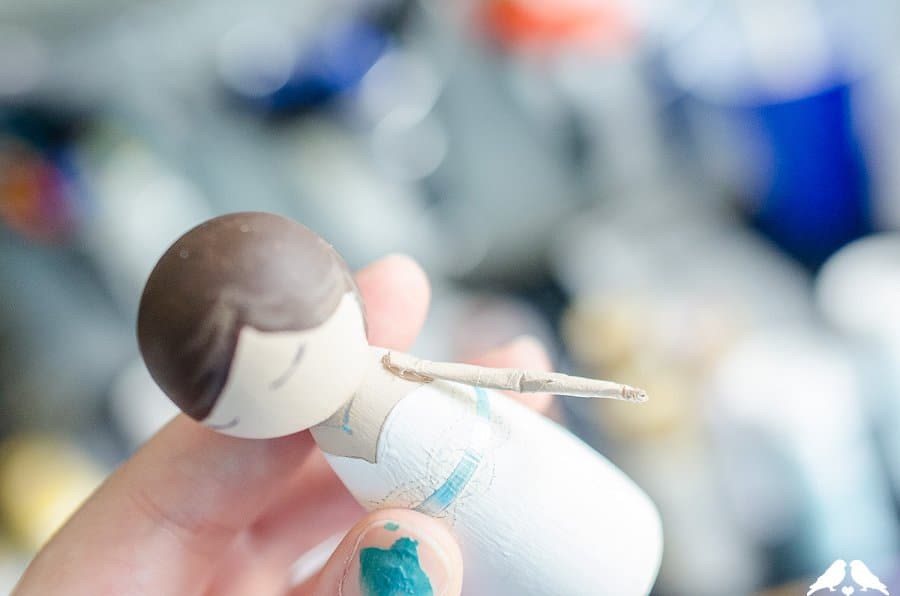
Step 5: Hold up the arms to your peg dolls and trim the length accordingly. Bend the arms into shape – each pair should have one mostly arm extending towards the other doll, and the other arm slightly bent. If you want to include a bouquet, bend the arm significantly at the elbow so that the hand would end up at the waist. Use a pair of pliers to curl the joined hands towards each other.

Use a hot glue gun to attach each arm at the shoulder. Use the remaining paint to cover any exposed glue, as well as to fill in any gaps between the arm and the body.
Step 6: After the arm is attached and you’ve applied any touch-up paint, coat the whole figure in Modge Podge or a similar gloss sealer for protection. This will also help make sure the masking tape does not unstick.
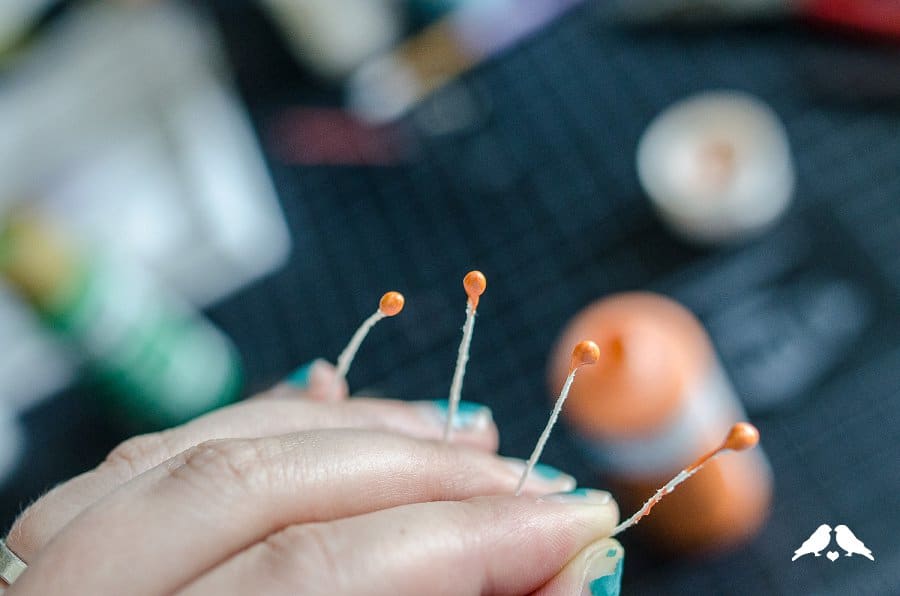
Optional bouquet – dip the heads of the floral stamens in coloured paint, and allow to dry. Using sharp scissors or an x-acto, snip the heads off the stamen as close to the beads as possible.
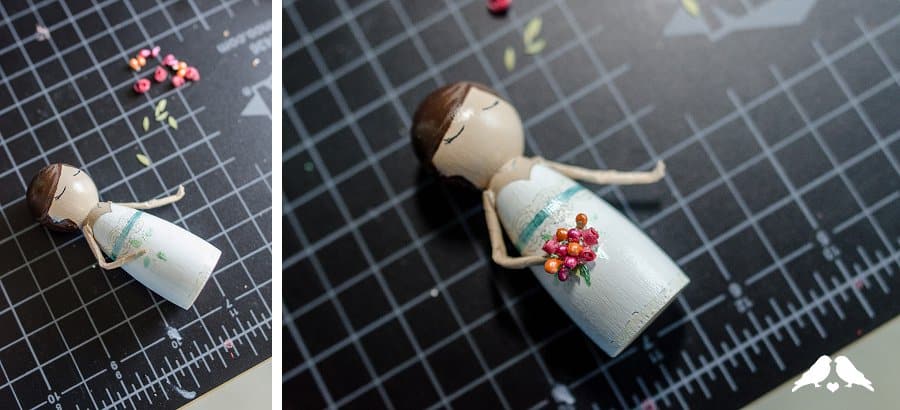
On the bride figure holding the bouquet, use green paint to add leaves around where you want the bouquet to sit. Then attach the painted beads one at a time using hot glue dabs. When all the beads are attached, use green paint to cover any visible globs of hot glue, to create the appearance of leaves between the flowers of the bouquet.
You’re all done!

Let us know how your DIY cake topper peg people turn out! A special thanks again (as always) to this AMAZING DIY Tutorial from Ribbons & Bluebirds!


