
Another awesome DIY tutorial on the blog today thanks to Ribbon & Bluebirds! Jenn shares:
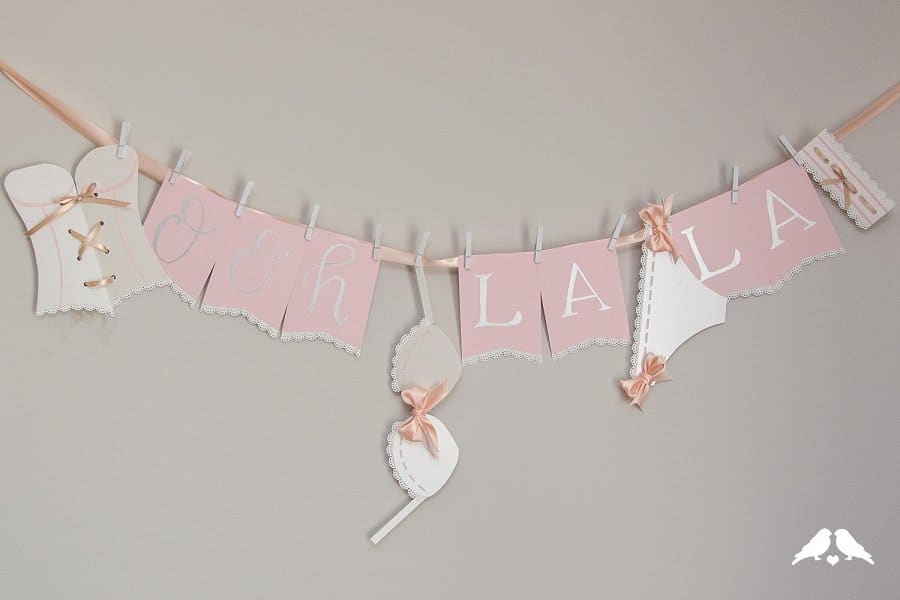
I just got back from one of my best friend’s bachelorette celebration, and I was inspired to share this DIY with you! When we were prepping for the party I volunteered to help decorate, I really wanted to get away from the typical cheesy bachelorette décor and go for something more classy (and still sassy) that better represented our bride-to-be. While I was shopping for a gift for the lingerie shower we were planning as a surprise for her, it hit me that the perfect thing would be pretty paper lingerie pinned to a clothesline – just like the actual lingerie we would be gifting her.
This one is just TOO CUTE guys! Enjoy.
DIY Tutorial: How to Make a “Ooh La La” Lingerie Shower Garland Decoration
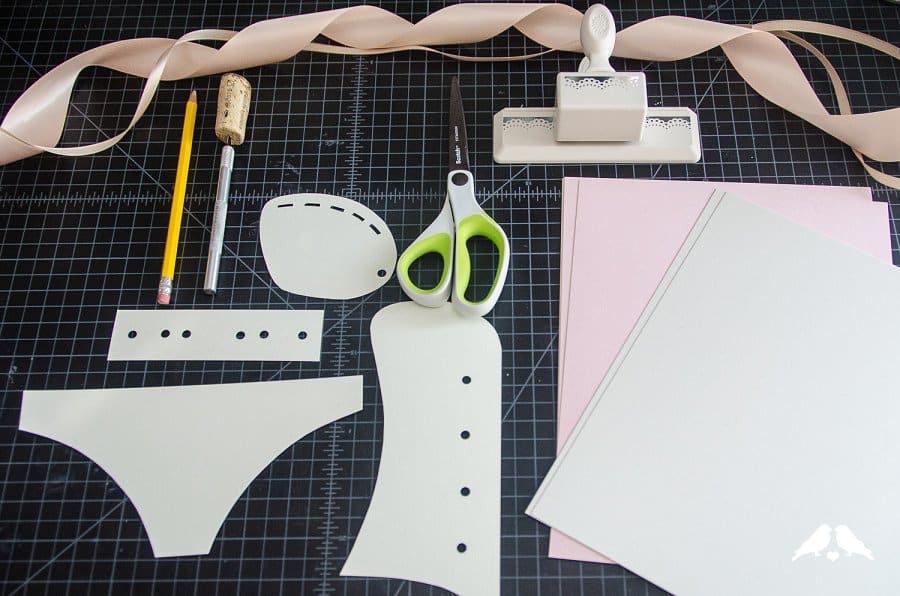
Materials you’ll need:
• Downloaded template from Ribbons & Bluebirds blog, printed out
• 2 sheets cardstock for the “outer” colour, and one sheet of your accent [I used a shimmer quartz for the top layer, and a blush for my accent]
• Lightweight sheet of paper (copy paper will work great) for “lace”
• Ribbon – I used both 3/8” for lacing, and 1.5” for both the banner strand and the bigger bows
• Edging craft punch – I used Martha Stewart’s “Doily Lace”
• Paper crafting glue – I recommend Glue Dots or similar
• Hot glue gun
• Scissors & x-acto knife
• Hole punch
This tutorial may look complicated, but none of it is difficult, and the pieces are totally customizable! You could also provide the templates of the undies too, and let shower guests personalize a pair – there are so many possibilities!
1. Start by downloading the template – visit this page at Ribbons & Bluebirds’ website to download – and printing the template.
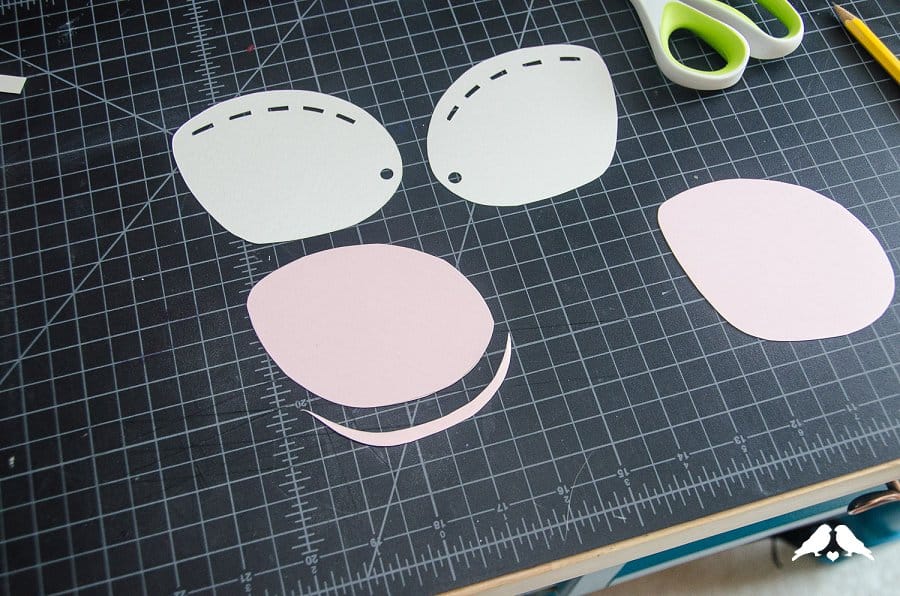
2. Cut out your template (including stitch lines) and punch holes as shown.
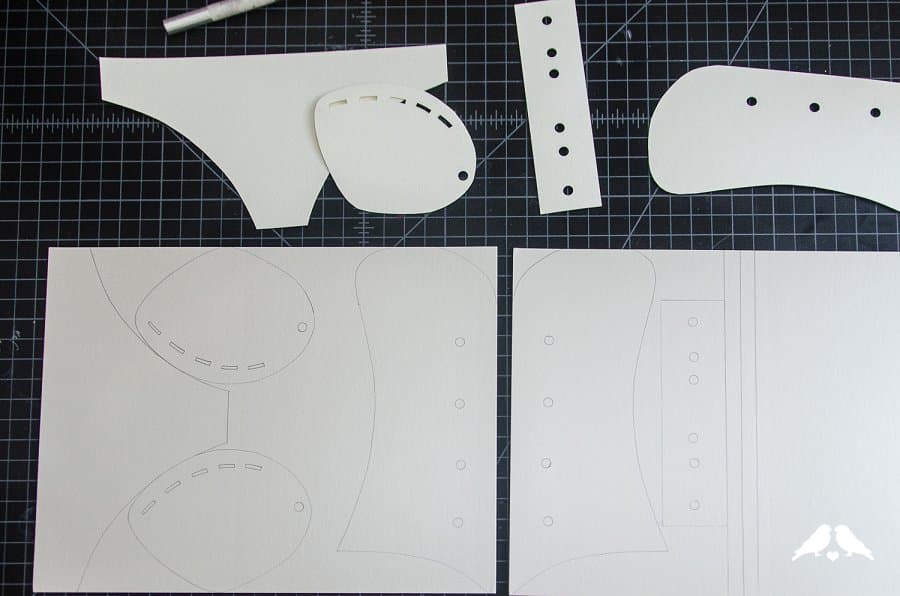
3. Trace your templates onto the card stock (including tracing the holes and stich lines). I recommend saving time by using as many of the paper’s straight edges as possible! It will take two sheets to fit all your pieces, and the corset and bra each need 2 halves. You’ll also need two rectangular strips of ½” x 4” for the bra straps.
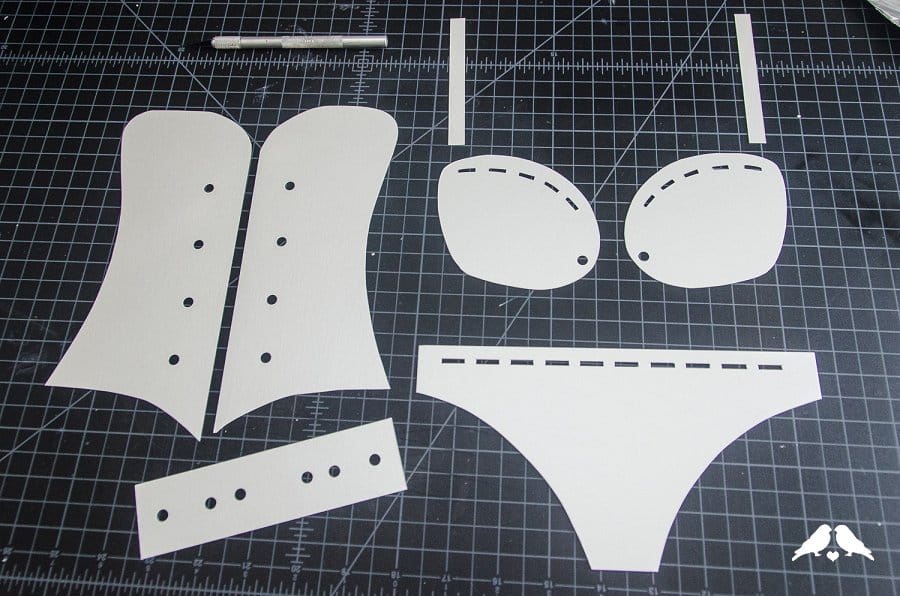
4. Cut out your cardstock pieces, using your x-acto to cut out the stitching lines on the bra and panty, and punch out the holes.
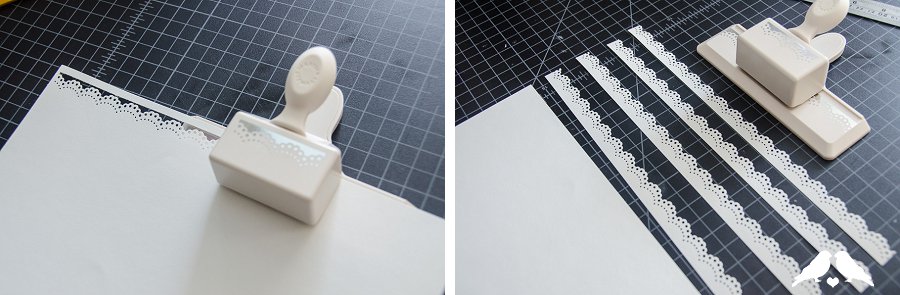
5. Next, it’s time to make the lace accents. Using the punch, cut along the long edge of a sheet of paper from top to bottom, then trim the edging off the paper leaving about ¼” below the pattern as a gluing strip. You’ll need at least 4 strips to finish the lingerie as I’ve shown, but you’ll need more if you plan to trim out the text like I’ve shown.

Click inside for the rest of the step by step instructions for this awesome Lingerie Shower Tutorial!
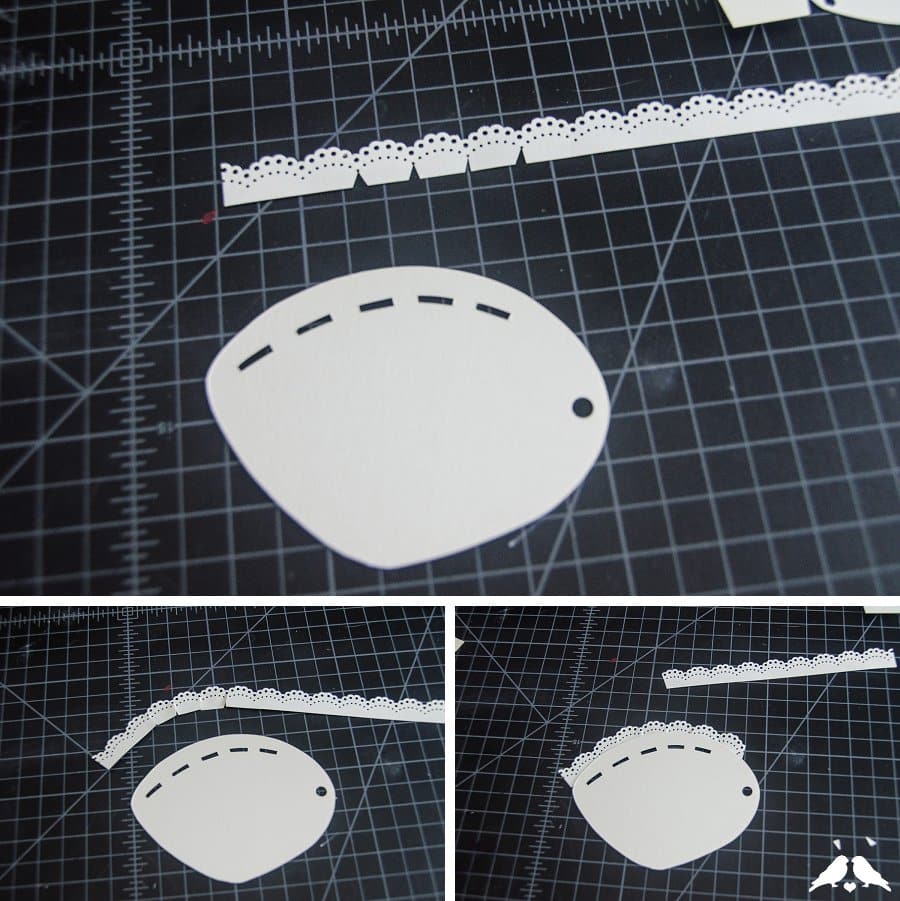
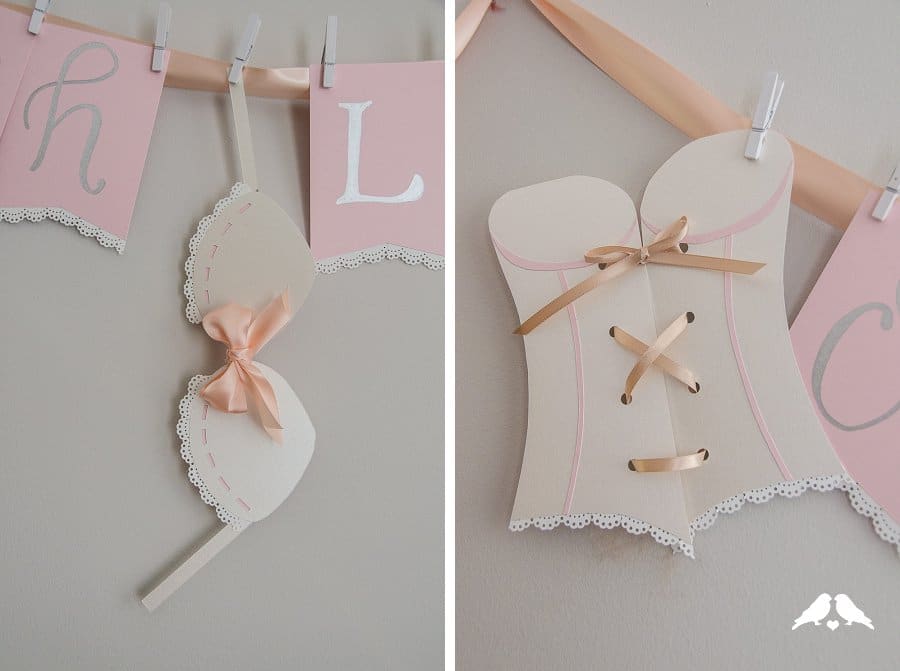
6. Trim the bra and panty with lace. Using a small strip of your glue of choice, attach the paper lace on the back of the cardstock, letting the decorate edge show and being careful not to overlap your stitched holes. To follow the curve of the bra, cut little triangles out of the bottom of the lace piece and gently fold into a curve. Attach with glue.
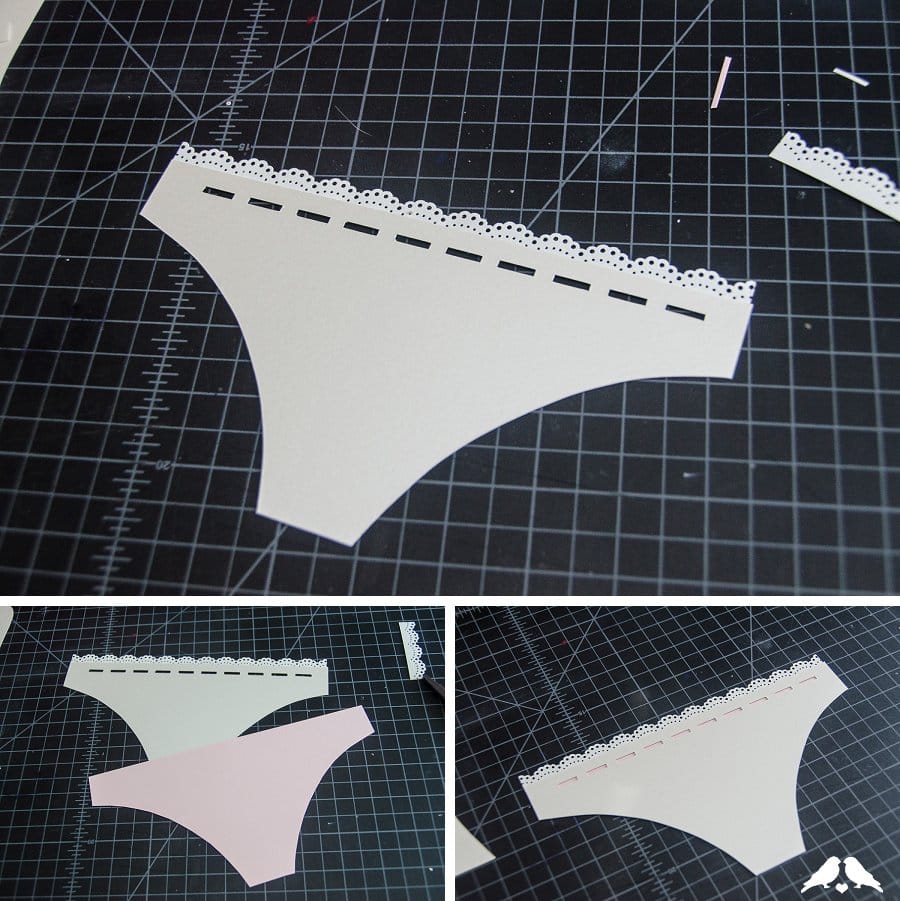
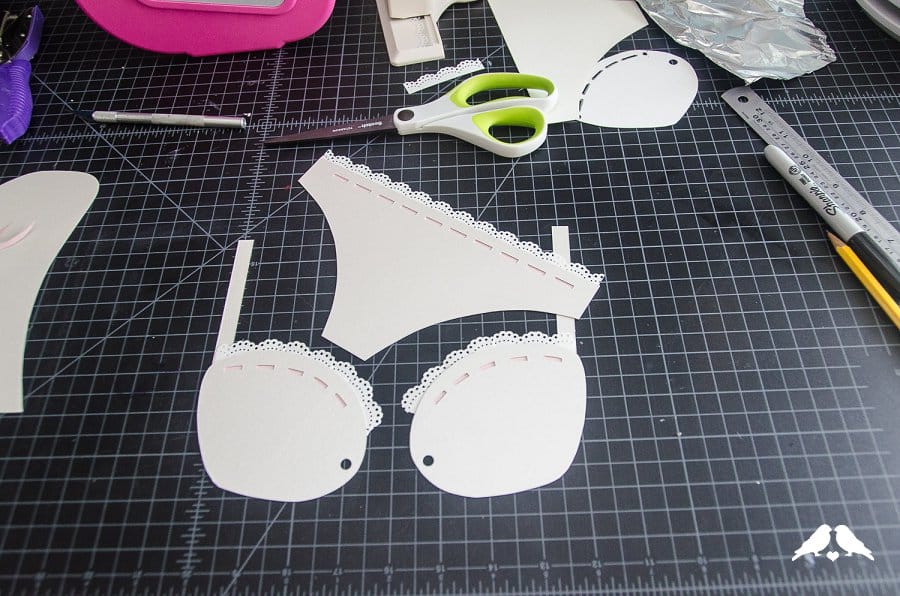
7. Using your bra and panty template on your accent cardstock, cut out 2 more bra cups and one panty – for the panty, cut inside your original lines by 1/16” to 1/8”. For the bra cups, cut them to the original size but then trim an additional 1/8” strip off the bottom and retain – this will be used as piping for the corset. Glue the accent cardstock behind the outer cardstock, and trim any coloured edges that overlap. Glue the straps on behind the lace at the edges.
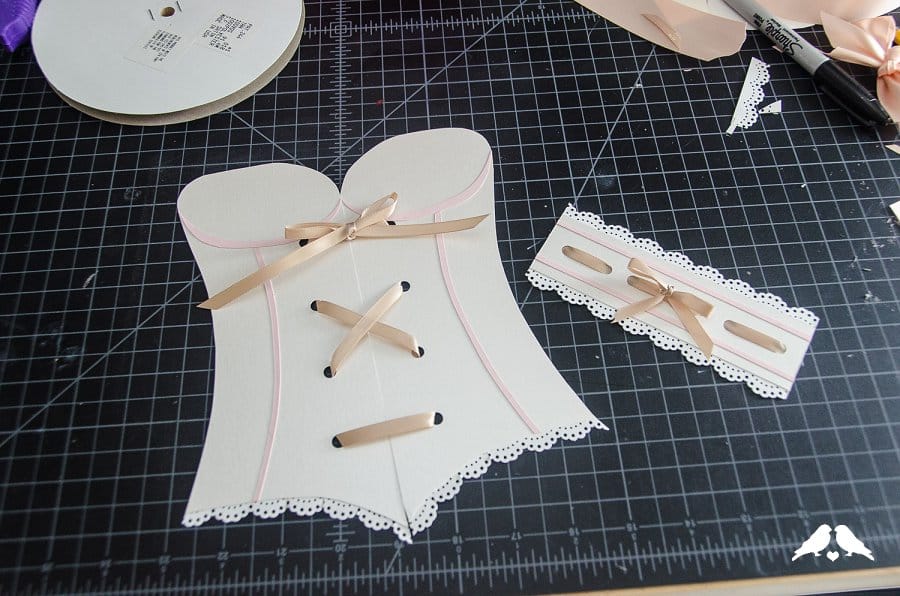
8. To finish the corset, trace the outer curved edge of the corset 3 times onto the colour accent cardstock, about 1/8” apart each. Cut out with your x-acto to make the boning lines of the corset, along with the trimmed accent edges from the bra cups you saved in step 7. Use the glue to attach the cups first, right above the top hole of the corset, and then trim the vertical boning lines to fit and glue them also.

9. Trim the bottom edges of the corset with the paper lace, again cutting slits in the extra area for gluing, to allow you to fold and crease the lace into a curve. Trim the excess lace in lines continuing from the edges of the corset.

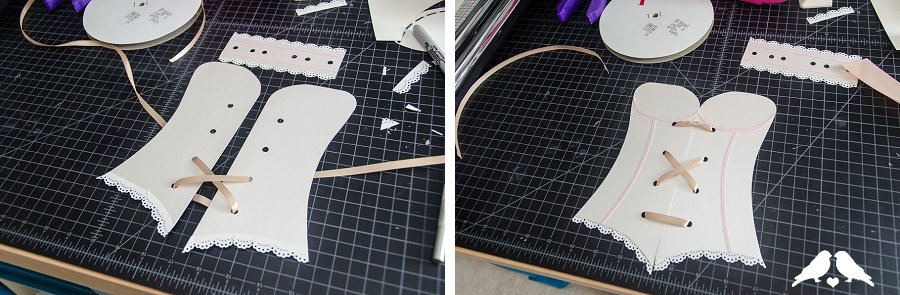
10. Tie the two corset halves together starting at the bottom front – weave the ribbon from front to back for a horizontal line at the bottom. Then at the back, crisscross the ribbons in an x to bring them back to the front, and continue in this fashion until you get to the top two holes – then tie in a knot, and trim off the excess. While you are attaching the ribbon, make sure you tighten at each stage but allow the two halves to have space in the middle, like a realistic corset. Finish the corset by tying a separate bow, and affix to the tied-off knot using hot glue.
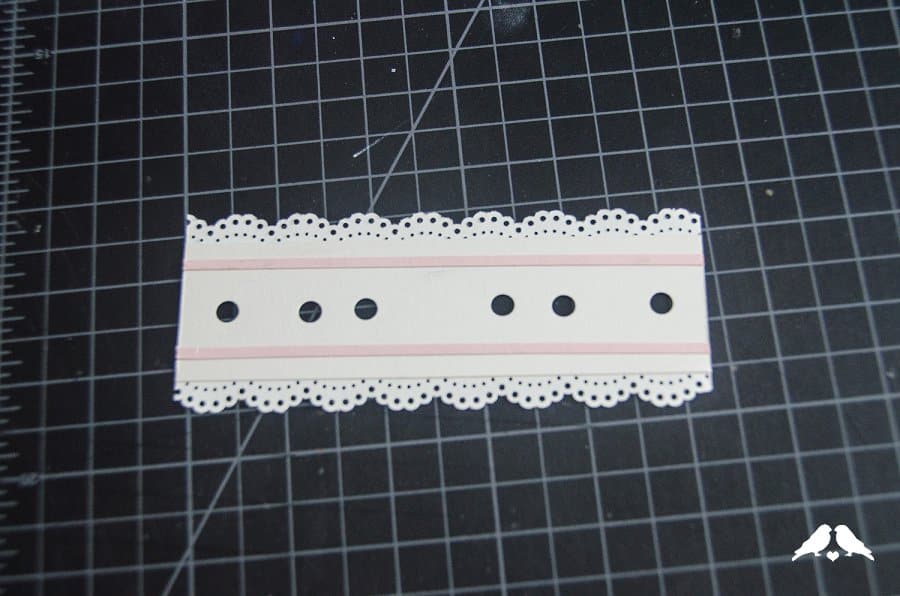
11. The garter is very straightforward – cut two more straight lines of your accent colour to glue on top, and trim the edges with the paper lace behind. Using ribbon starting from underneath, weave in and out of the punched holes, and secure ribbon with dots of hot-glue at the back. Make a tied bow, and use the hot glue to attach to the center of the ribbon.

12. To finish the bra and panty with ribbon, take your wider ribbon and tie the two halves of the bra together. If your ribbon is as wide as mine, you may want to tie the halves together in a knot, trim the ends, and then attach a separate large bow to the front using hot glue. Make two separate bows for each side of the panty and attach with hot glue.
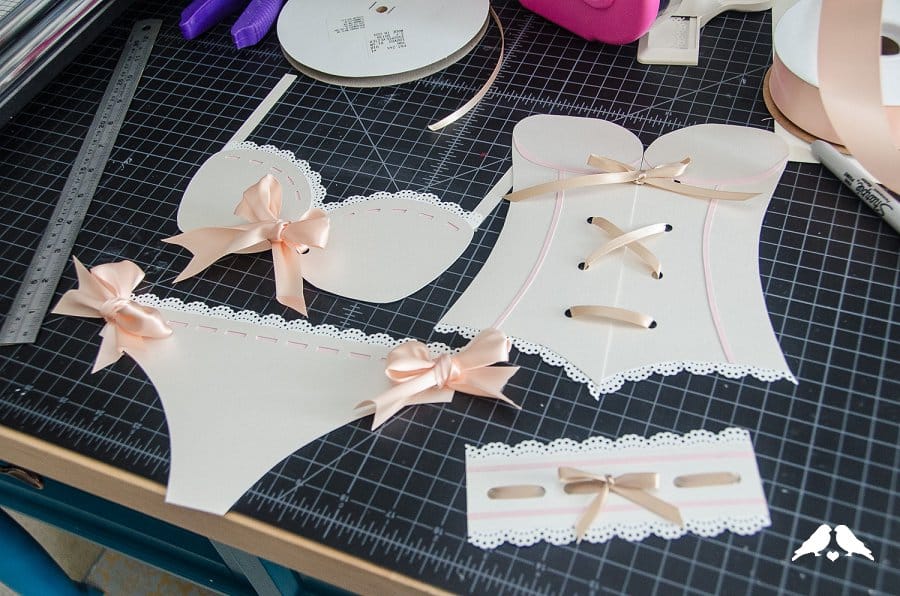
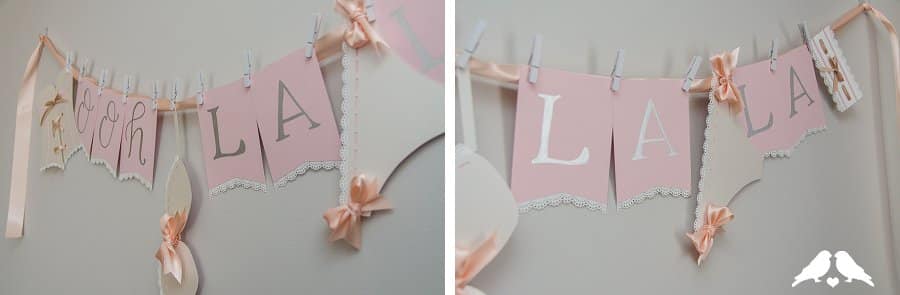
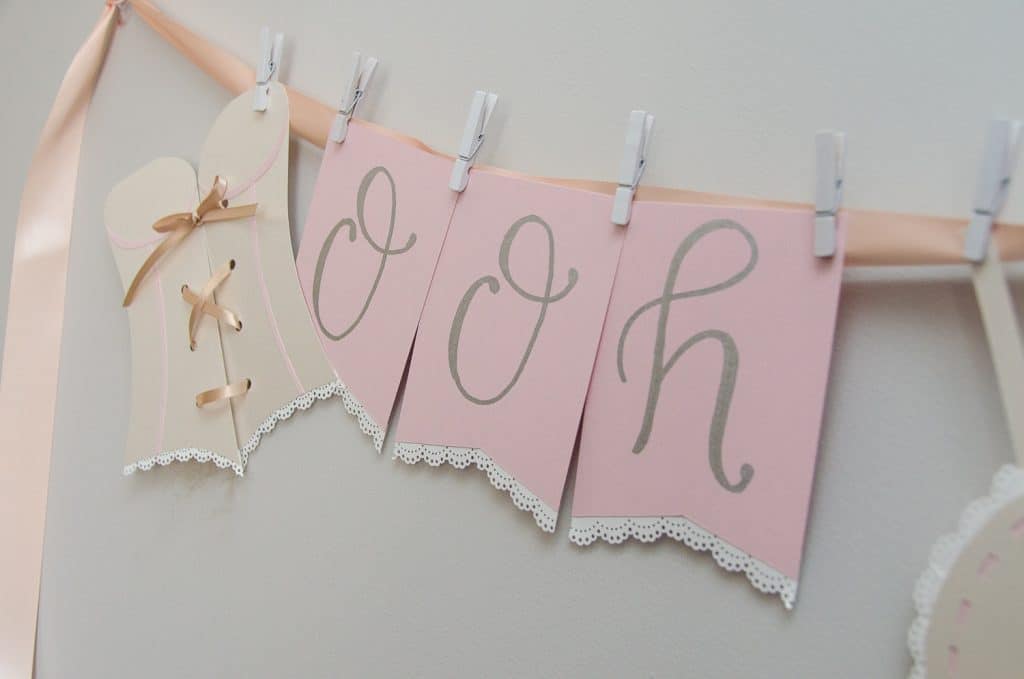
13. If you’d like to make the text cards, just follow the directions for our tissue tassel banner minus the top holes. I lined mine with extra lace paper for an extra little something.
14. Attach the pieces to a draped ribbon with clothespins, and you’re done!
I would LOVE to see creative ways to gussy up this lingerie – I have an idea to make a little tulle bow/veil for a saucy pair of bottoms, but I know you guys can come up with something great! As always, enjoy making it yours.

SO CUTE!! Let us know if you make one using our tutorial! Thanks again to Ribbons & Bluebirds for another amazing DIY wedding tutorial!
[icon size=”small” image=”icon-heart”]


2 comments
Hello,
Do you have a link to the template? The link above does not bring me anywhere.
Thank you!
Claudia