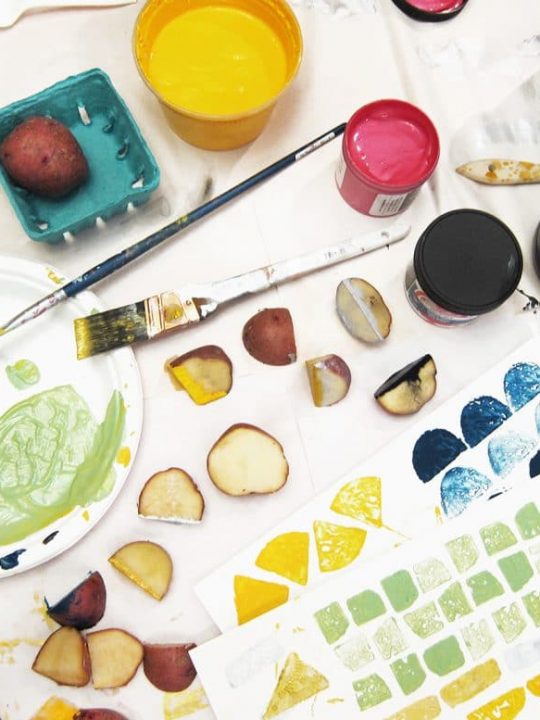
Images & Tutorial: Jenn Heller Design Co
Slow start this morning Romancers. Was out late volunteering at the N Street Village Annual Gala, and E actually slept til 7 – and so I took advantage of that. As this cold is STILL raging, and the day job kicked off with moldy coffee being spilled all over my desk. YAY WEDNESDAY! But we’ve got an ah-mazing DIY tutorial today for #DIYWednesday thanks to Jenn Heller Design Co. She’s gonna teach you all how to make this AMAZING Faux Marble Platter with a Gilded Edge, which make for some badass wedding centerpieces, or just a nice piece for your home! Check it out!
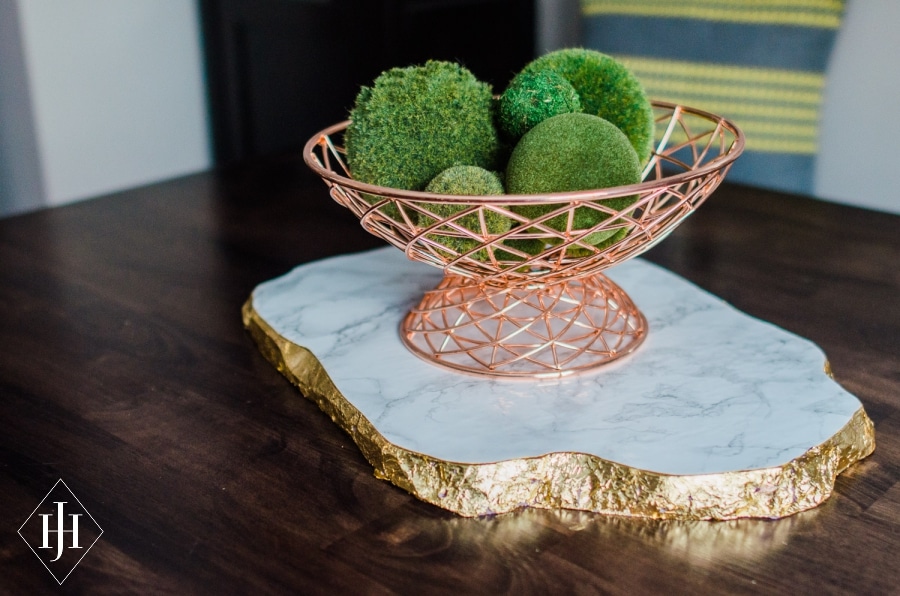
Gilded Edge Faux Marble Platter | By: Jenn Heller Design Co.
It is no secret I am addicted to shiny things (and the archives prove it.) For anyone who follows my behind-the-scenes Instagram Story, you also know my recent fondness for all things gold leaf. Time to tackle a DIY that’s been percolating for some time! One of the things I most love is to take a faux version of something and hack it for less, so I’ve been thinking about ways to use faux marble contact paper more realistically for a while.
One of the things that faux marble often gets wrong is the thickness of materials – real marble is fragile, and keeping pieces thick keeps them stable. In addition, one of the easiest ways to spot a piece made of faux marble contact paper is at the edges, where paper peels or seams don’t align.
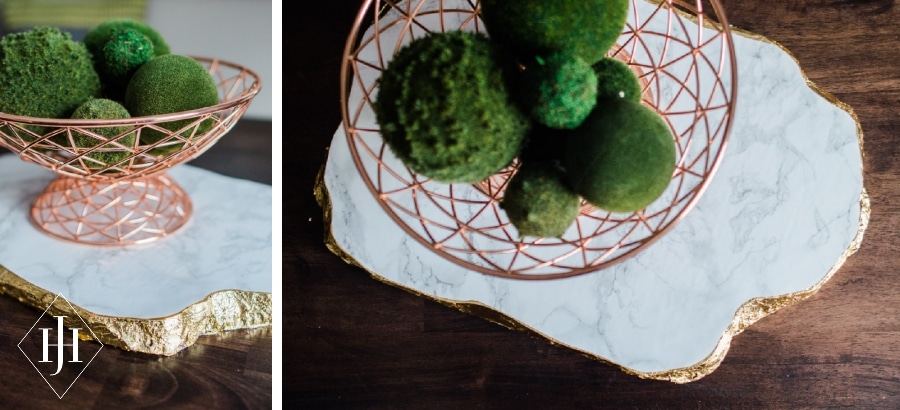
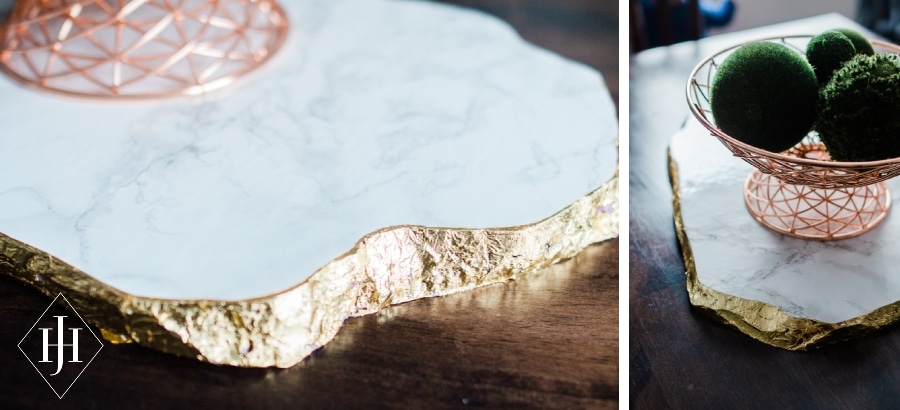
Put those two together with how much I am loving the gold edges on everything at Target these days and boom: the faux gilded-edge marble slab. I think this could look just as incredible under your wedding centerpiece as on your kitchen table, or as platters for displaying cupcakes, escort cards, favors… you name it!
Details:
Time: 45 minutes + glue drying time
Difficulty level: Easy/Moderate
Cost: If you’re just making one, the upfront cost is about $15 for gilding supplies and $15 for the contact paper + foam. However, you could make at least 4 for the same cost, since all the supplies are sold in quantities that allow you to make multiple.
What you’ll need:
Materials
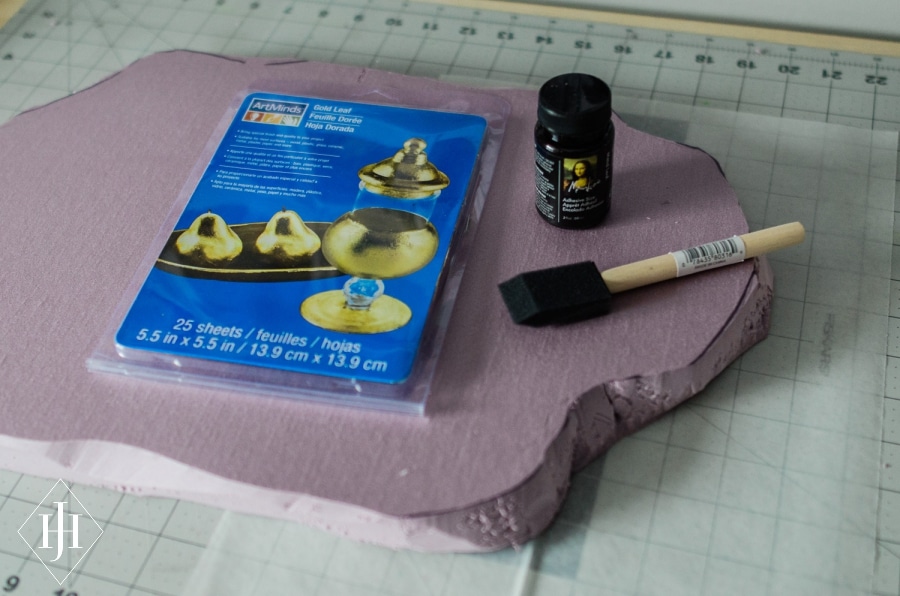
- Rigid insulation board (or similar) – 1″ thick
- Marble contact paper
- Gold leaf and leaf adhesive
- Optional: sealer
Tools:
- Box cutter
- Marker
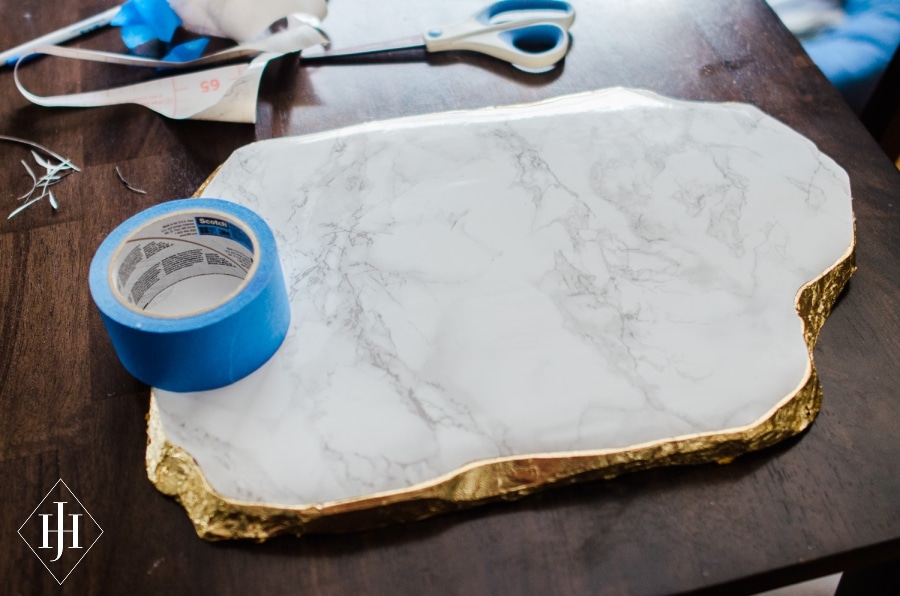
- Masking tape
- Foam brush
Step by Step Directions:
Step 1. Draw a shape on your foam. Real marble tends to break along seams and cracks in the stone, so some straight lines are just fine!
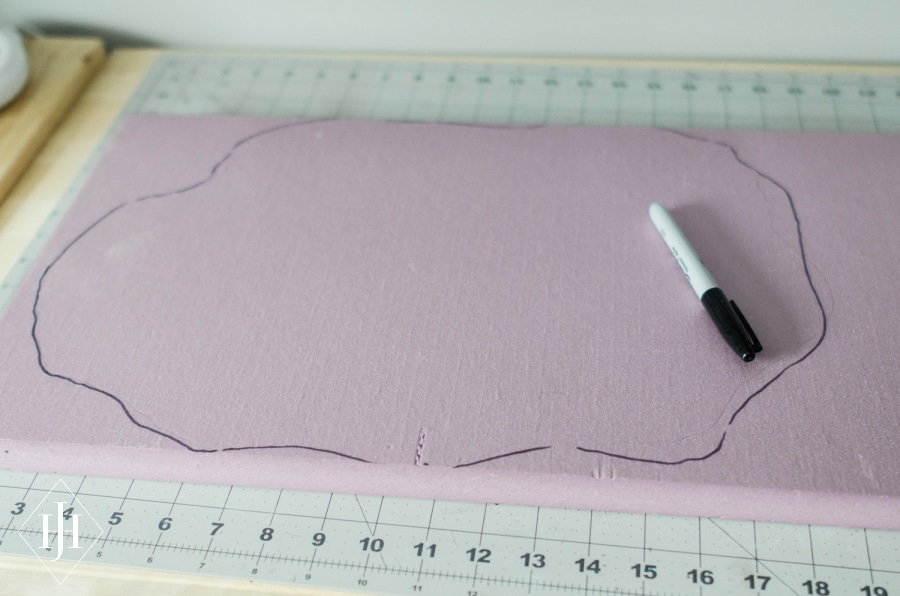
Step 2. Using a box cutter at an angle, carefully cut out your shape angling outwards from the your line – this will give maximum exposure to the gilded edge. Make sure the box cutter is sharp, because a dull blade will really chew up the foam and make it harder to apply the leaf. You can use sandpaper to clean up the edges if the tear-out is very bad, but if it’s more than a very quick (5 second) sand be sure to wear a dust mask to avoid breathing any dust from the insulation.

Step 3. Apply the leaf glue to the edges. This may take a few coats – leaf glue dries and becomes more tacky, so you can touch the edges to see if they’re tacky or if the foam is absorbing a little. Be sure to overlap the glue onto the top edge by a little bit to give you more flexibility later when you’re applying the contact paper. Let the glue dry for at least 15 minutes before you start applying leaf – it should be transparent, not milky-white, when dry.
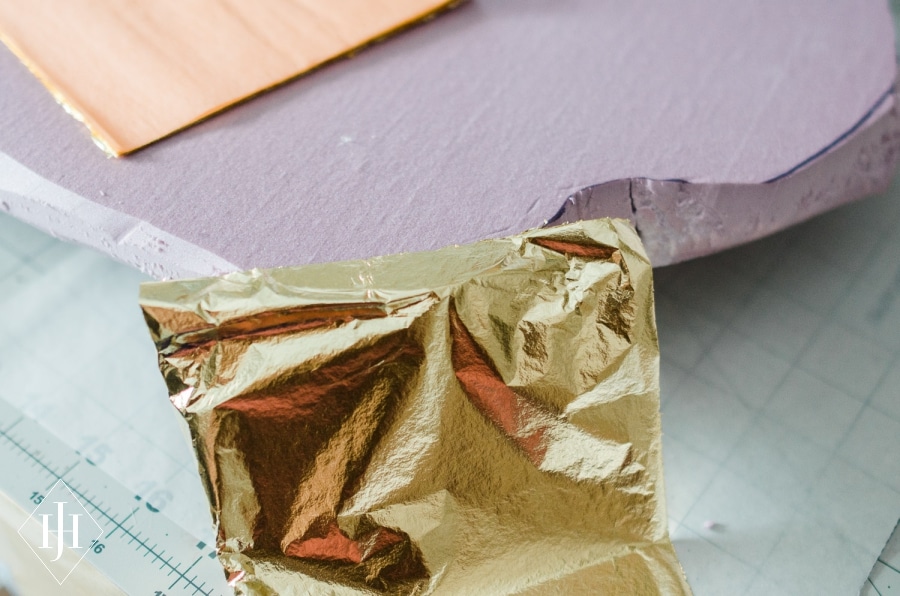
Step 4. Start applying the gold leaf!
***Some tips on gold leaf, learned the hard way:***
- No fans, open windows with a breeze,or any kind of air movement when working with gold leaf. Seriously, even walking past a sheet of gold leaf can be enough to pick it up and fly around the room.
- Wash your hands a lot. If they get even the slightest bit tacky, the gold leaf will stick to your fingers, and over time accidentally touching the glue will accumulate and cause them to become sticky enough to snag the leaf.
- Be patient with yourself and don’t get hung up on imperfect application. You can always add a little more glue, and more leaf on top.
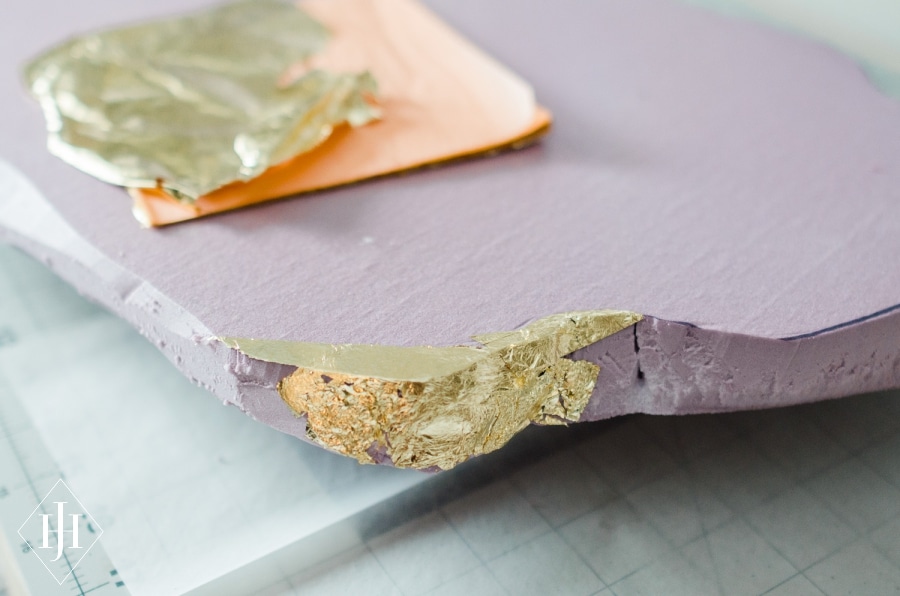
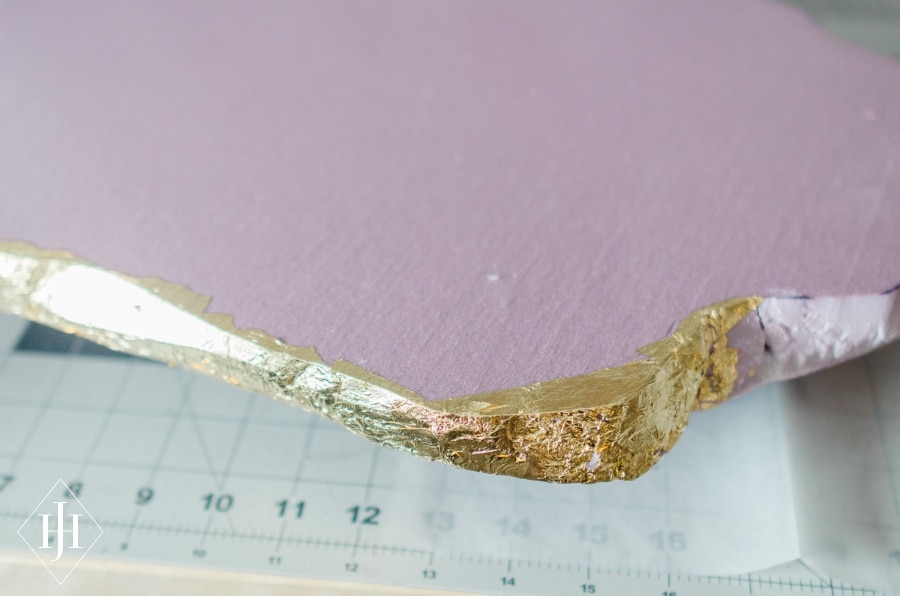
Step 5. Apply the leaf in strips, and press into the glue to adhere. You’ll start to get the hang of this as you go and it’s a little hard to describe, but the leaf will only stick to exposed glue so if you overlap pieces you’ll need to brush the excess away. (If you find as you go that you missed a spot with the glue, or it didn’t stay tacky in one area, you can brush on more glue and move on to another area while you wait for it to dry.)
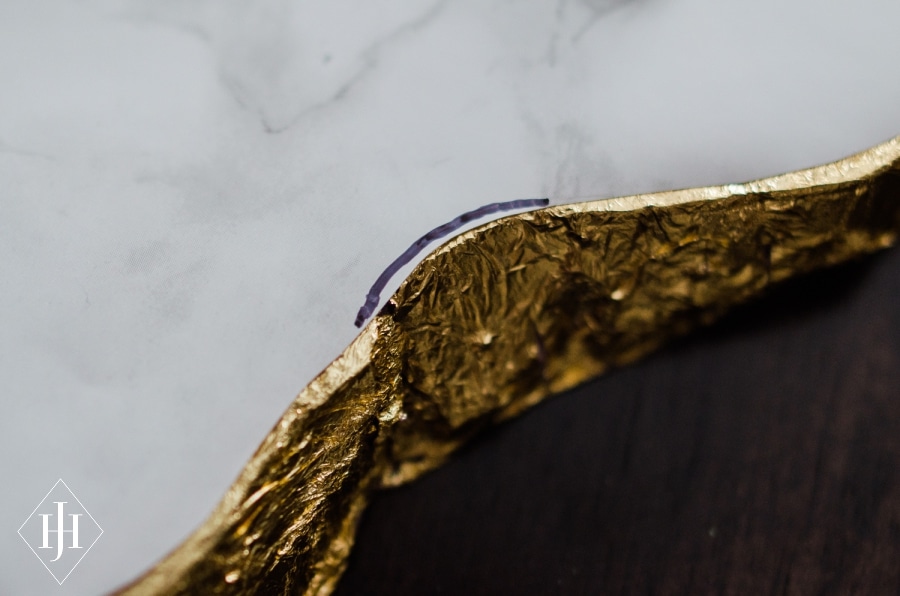
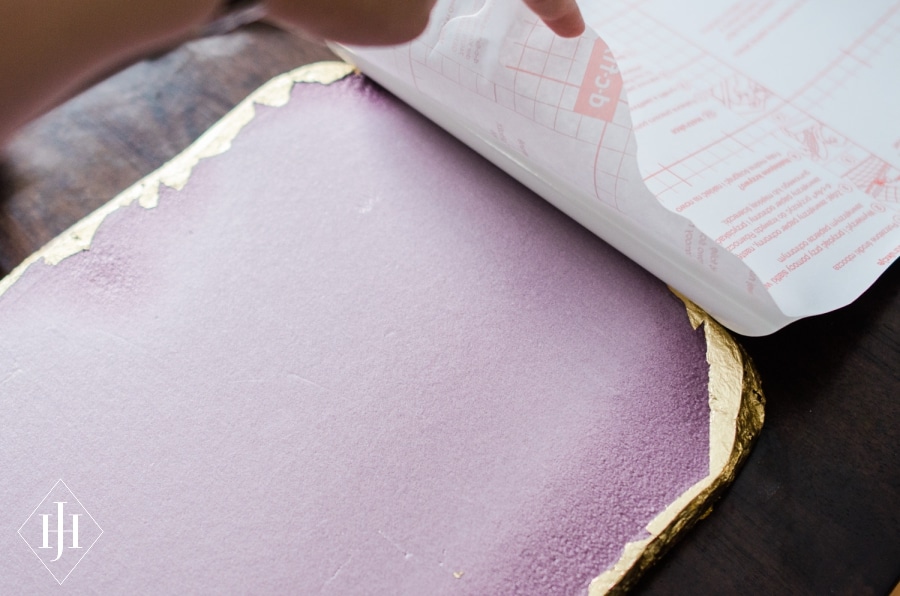
Step 6. Once you have gilded the entire edge, you can apply sealer spray if you want to increase the durability of your slab. IMPORTANT NOTE: Spray paint of any kind, including sealer, will dissolve the foam. Try to avoid spraying the foam, and mostly hit the leafed edges – the dark purple spots in my photo are where too much sealer got on the foam and it ate away at it. As you can see the finished slab is still fine.
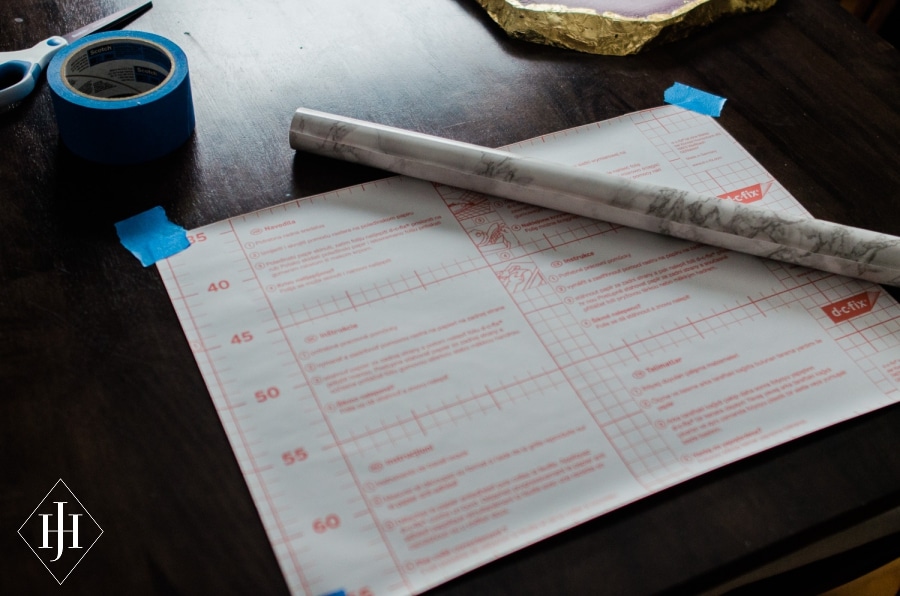
Step 7. Flatten out your contact paper using masking tape, and once your foam slab is dry use it to trace the shape on the back on the faux marble. Make sure you angle your pencil in there to get the actual shape at the top, since we angled the edges out.
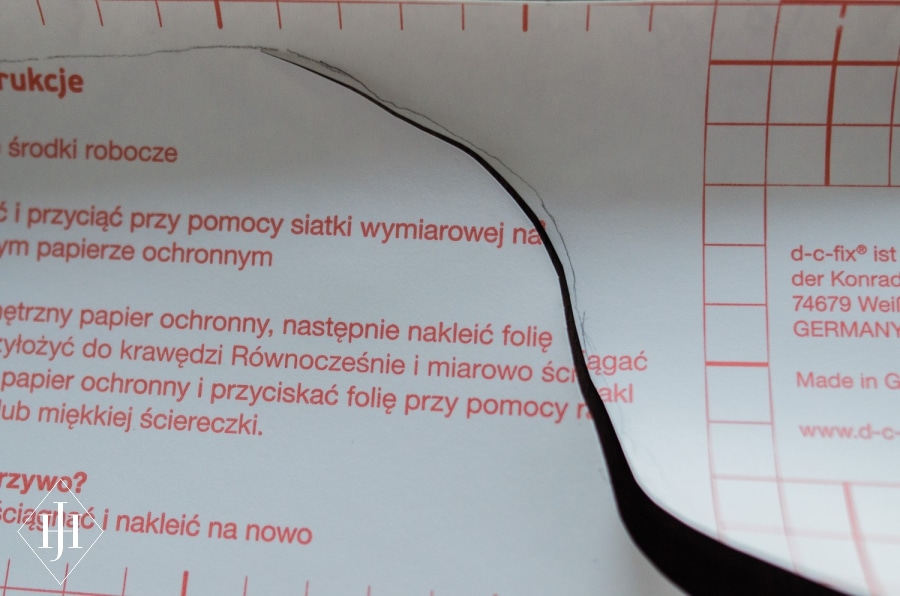
Step 8. Cut the contact paper slightly inside your pencil line, since you likely weren’t able to get the pencil alllll the way in there.
Step 9. Align your cut out sheet and see if there are any places that need trimming! Mark them, and trim.
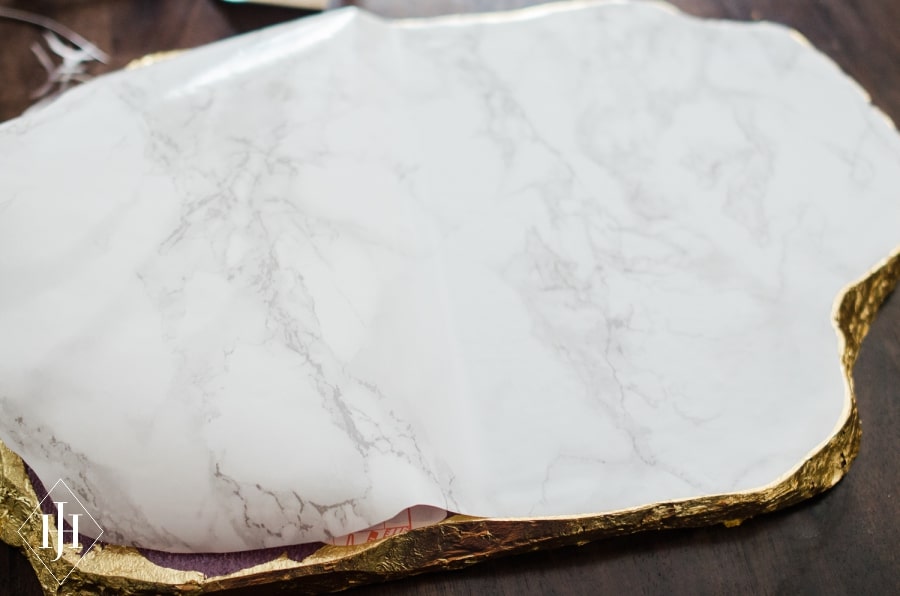
Step 10. Use something heavy to weigh down the aligned sheet at one end, and carefully peel back the contact paper backing at the other. Press down the exposed edge to stick it to the foam, and push out any bubbles. Remove the heavy object and pick up the edge of the contact paper from the back. Press the paper down in a smooth line across the top as you peel the paper off the back, smoothing out any bubbles as you go, until the entire sheet of paper is applied.
Step 11. At this point you could also apply a layer of sealer, to improve the adhesion of the contact paper and for extra protection for the leafed edge.
Done! Let us know how you use this tutorial, we would love to see!
[icon size=”small” image=”icon-heart”]
*This post contains affiliate links.*