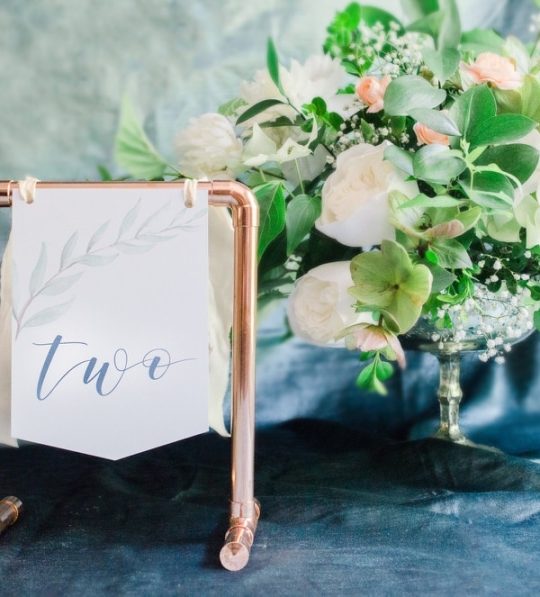
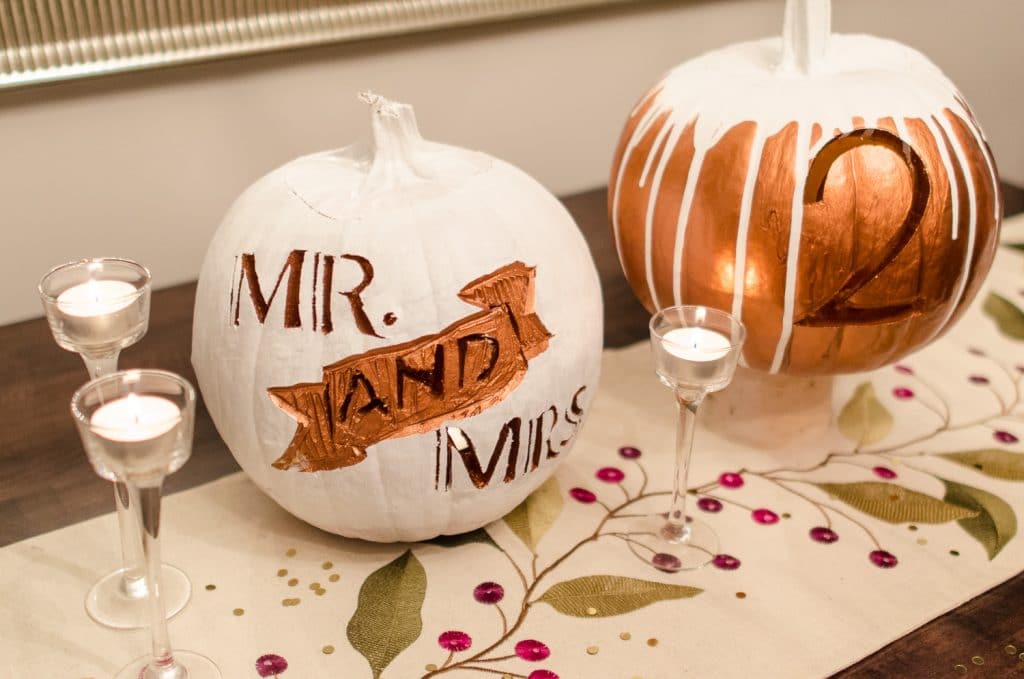
Another week in October means another Fall/Halloween themed DIY tutorial! Today Ribbons & Bluebirds is sharing some SERIOUSLY rad carved pumpkin table numbers that are wedding appropriate! I love pumpkins SO much they make a natural (and cheap) addition to your Fall wedding decor. But sometimes the overly orange color isn’t a fit – so I love the way Jen used gold paint and drips of white to snazz these pumpkins up. Full step-by-step DIY tutorial below!
In our spooky DIY series this October we’ve covered awesome DIY Halloween party invites spiced up with washi tape, and tombstone placecards – now for the big one! Pumpkin carving is something I have always loved doing, so I love the idea of translating it into a wedding setting for people with awesome October or November wedding dates! While you can certainly paint a number on a pumpkin more easily, there is something so charming about a carved lit pumpkin that I think would be worth a little cleanup. You’d want to do these pretty close to the wedding date to make sure the carving would stay fresh – I’d suggest having people over to assembly-line the cleaning process, just like if you were having friends and family help arrange flowers!
Just like for flowers, I found that Trader Joes has great prices on pumpkins, but shop around in your area to make sure you’re getting a good deal. At $3.99 and acting as a centerpiece for the whole table, these pumpkins are a killer deal versus traditional floral centerpiece!
Let’s get started:
- A medium sized pumpkin
- A printer and printer paper
- Scissors
- Tape
- Pumpkin carving kit, or a kitchen knife plus an awl
- Paint (optional)
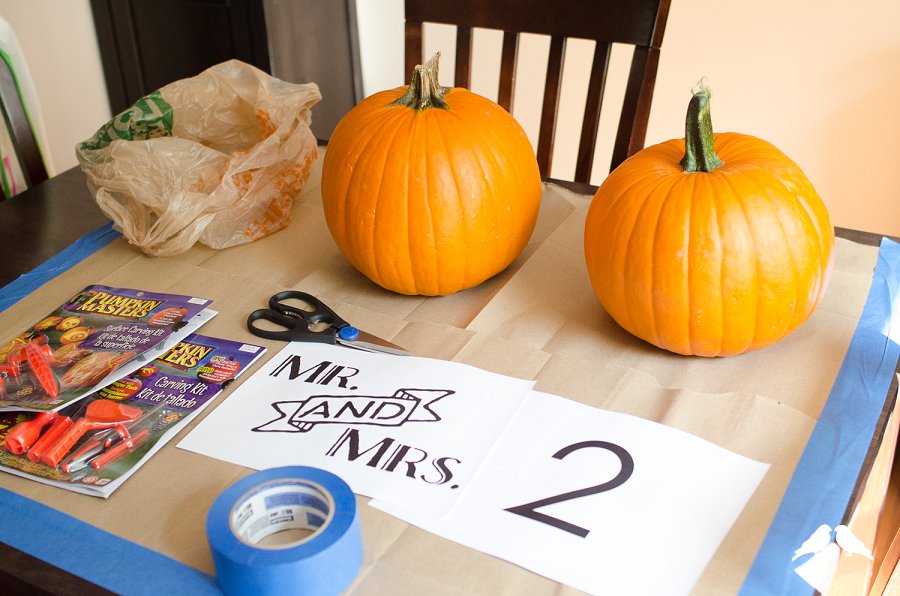
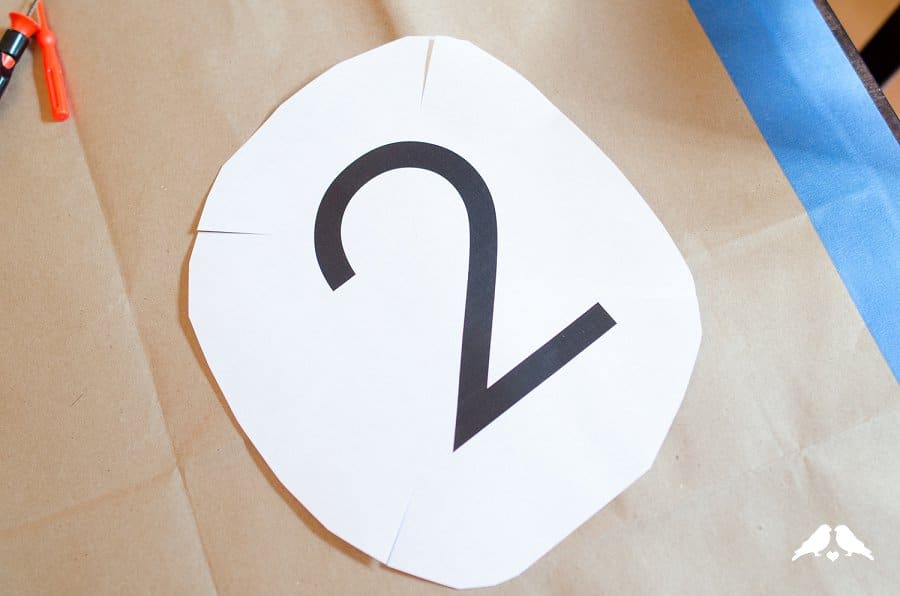
Step 1. Use your computer to pick a font you really like for the numbers. I liked the idea of a clean, modern sans serif – I used Century Gothic. Keep in mind that for numbers that have a fully enclosed part – 4, 6, 8, 9, and 0 – you’ll need to “break” the continuous number to keep the center holes from falling in. Print the numbers at a good size for your pumpkins onto plain paper.
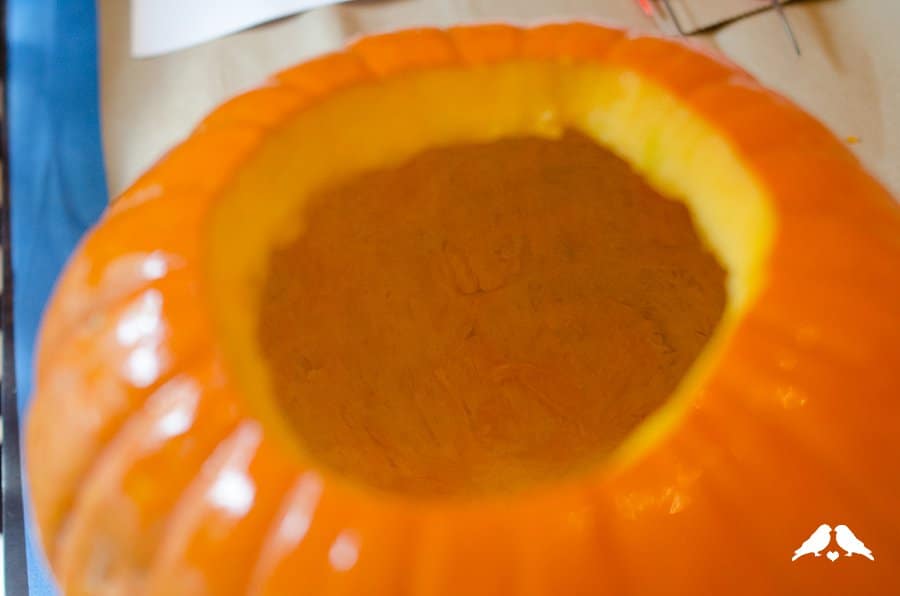
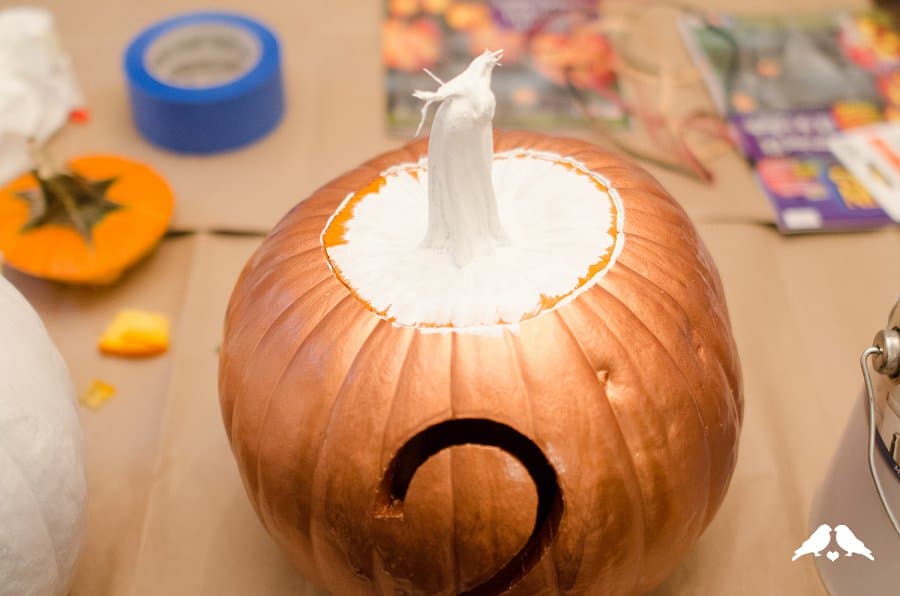
Step 2. Prepare your work area, and clean your pumpkins! This part is my least favorite, I will admit. When you cut a hole in the top to remove the gunk and allow you to put in the candle, make sure you angle your cut inward so the resulting top won’t fall into the pumpkin when you put it back! Scrape out all the goop and throw away, unless you want to roast the seeds (sugared and spiced and given as favors? I could see that working well.) Make sure you scrape the side you’ll be carving as clean as possible – the thinner the pumpkin wall, the easier and cleaner the carving will be.

Click inside for the rest of our DIY Pumpkin Wedding Table Numbers tutorial!

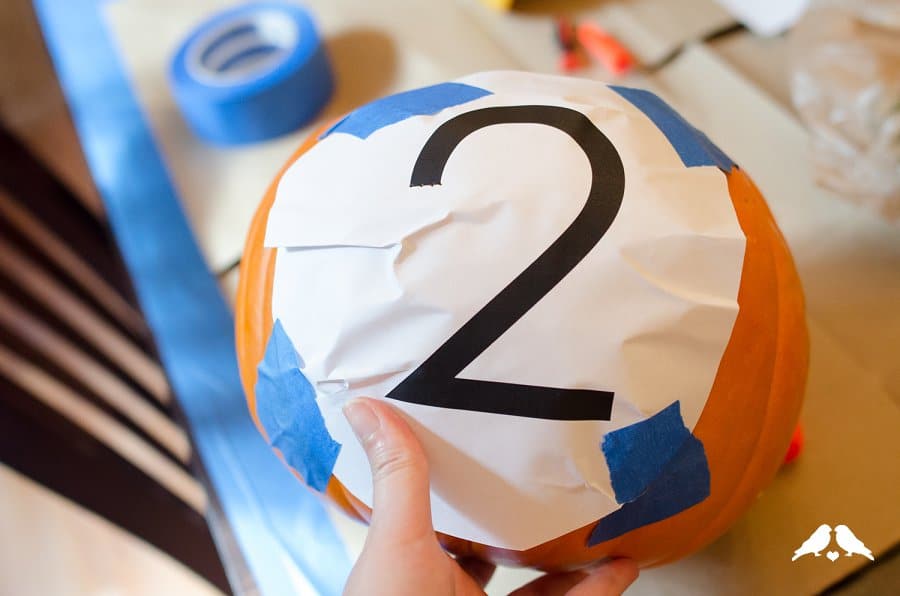
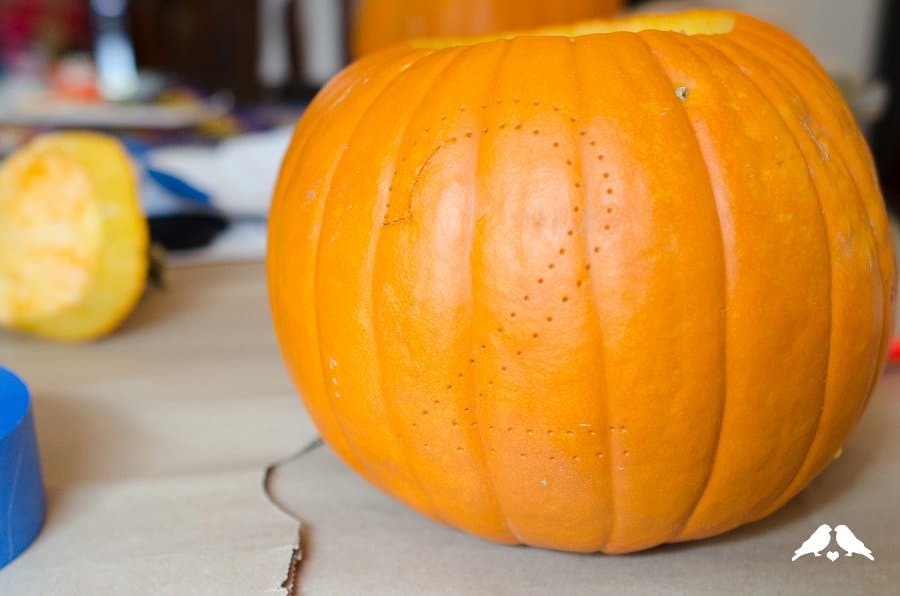
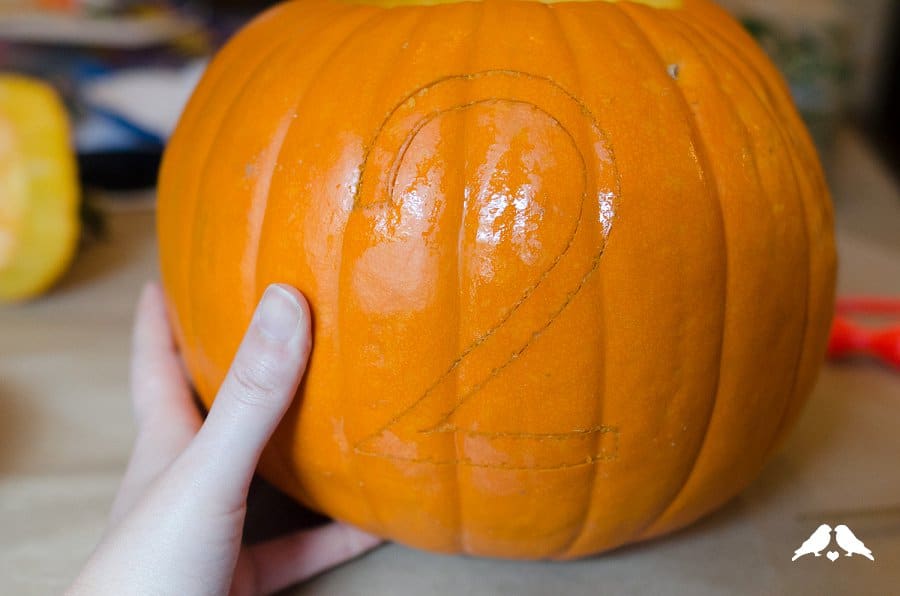
Step 3. Once your pumpkins are clean, cut out your numbers and add slits at 2, 5, 7, and 11 o’clock to allow for easier taping. Mold the number to the pumpkin and secure with tape – try and keep the black numbers as flat as possible but allow the edges to crinkle as much as needed. Using your awl or punch, poke a series of dots just inside the edge of the number to transfer the pattern to the pumpkin.
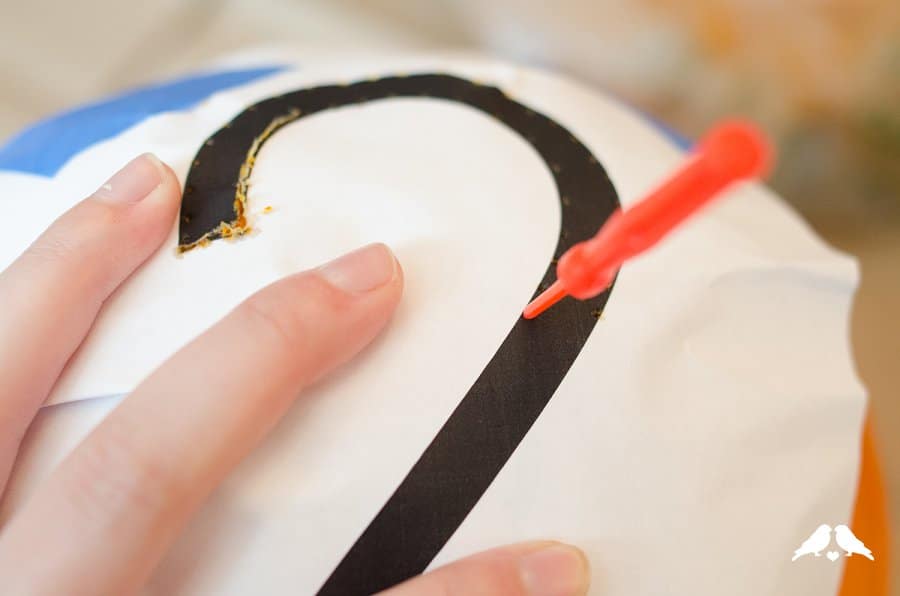
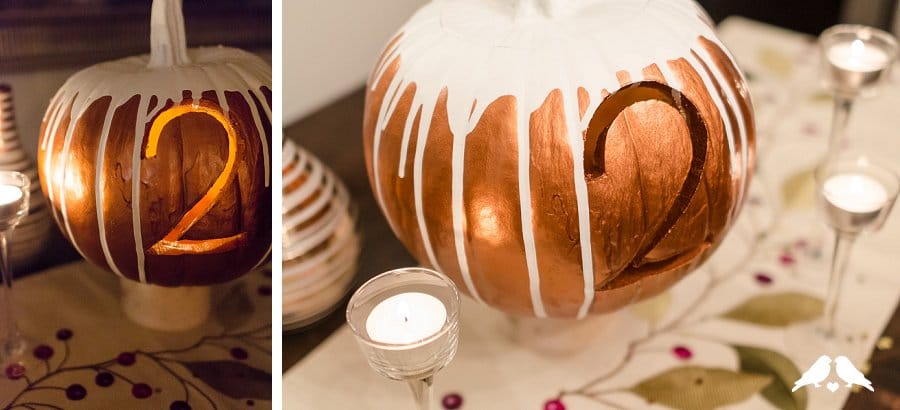
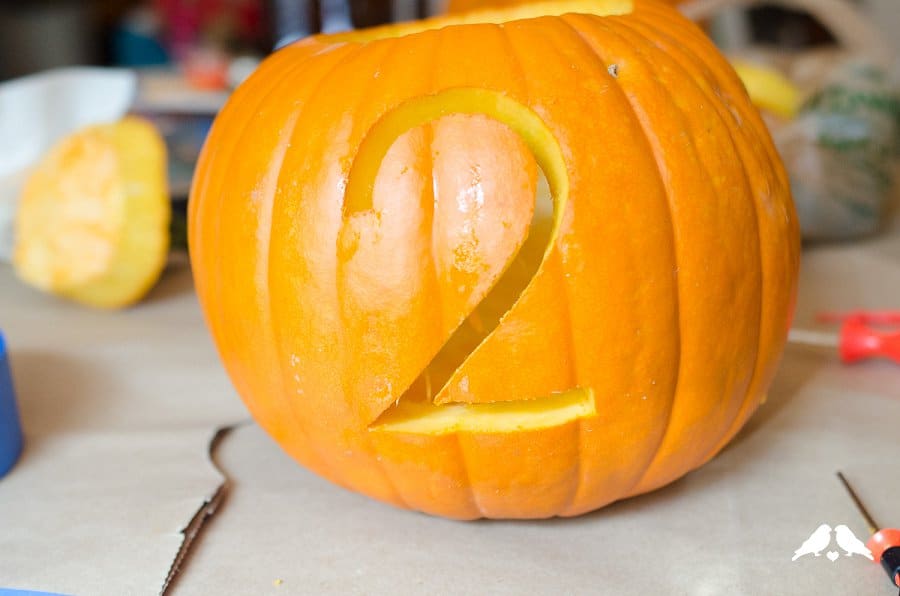
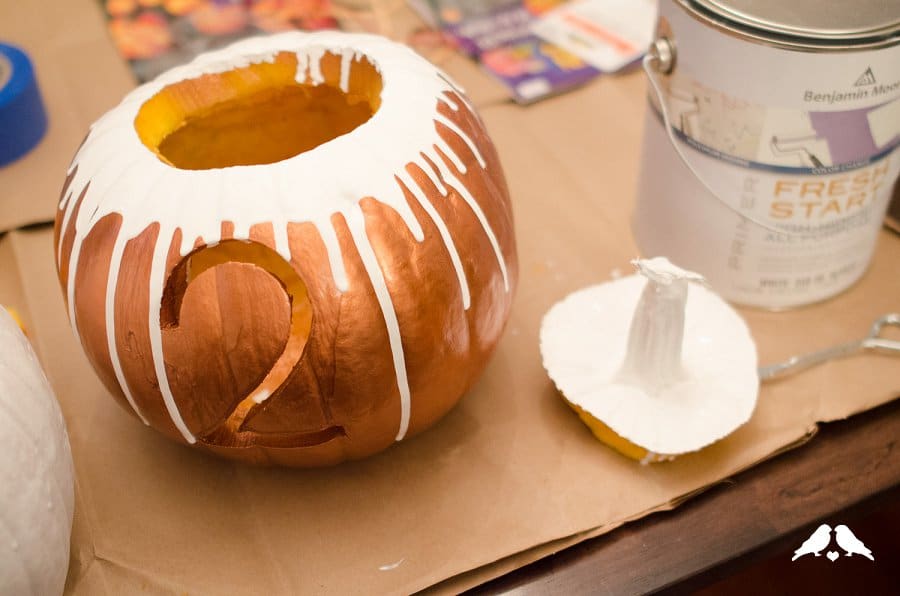
Step 4. Remove the paper, and start carving! Once you’ve traced the whole shape, you may have to cut the middle into segments to remove it from the pumpkin.
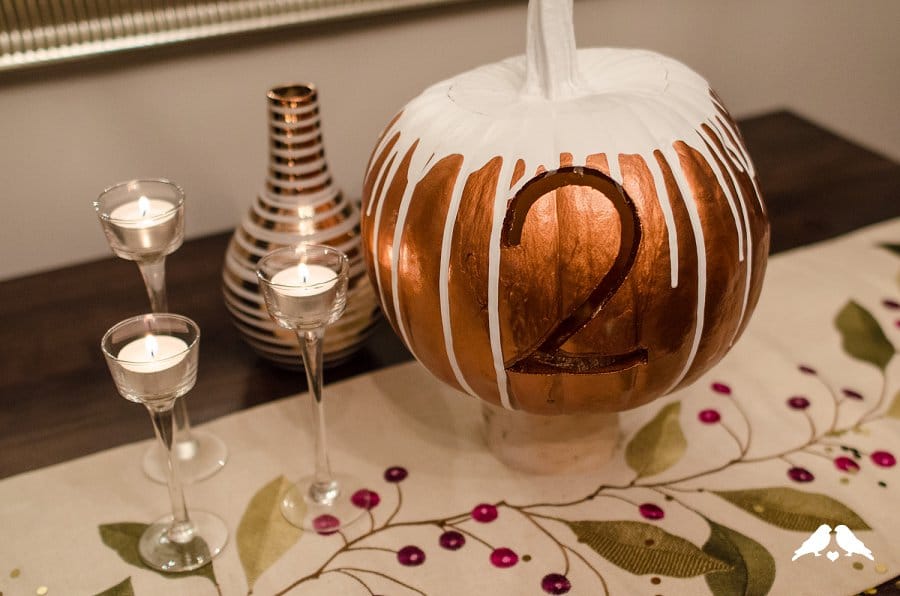
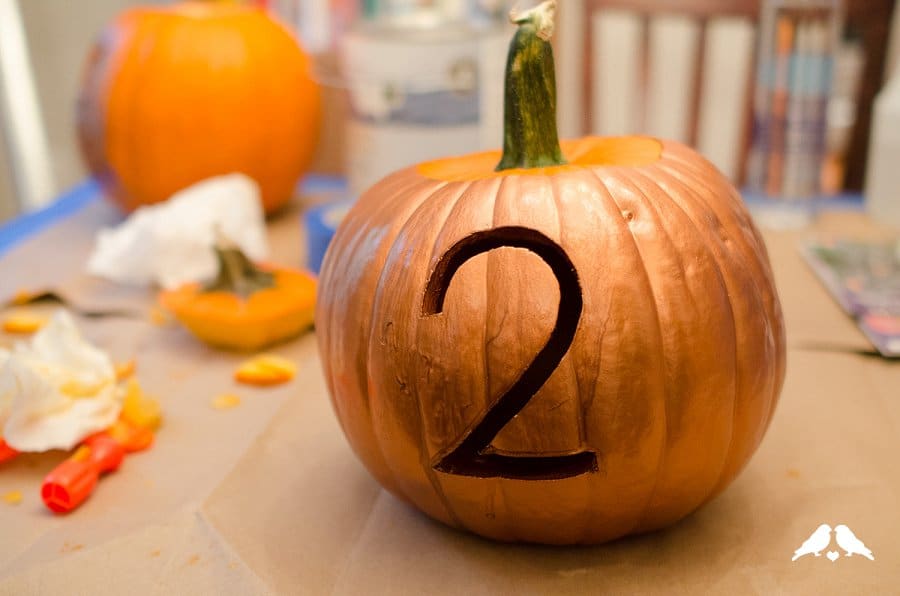
Step 5. I wanted to add a level of sparkle to the finished pumpkin, so I decided to spray paint mine a shimmery copper, with a white paint-dripped lid. There are so many ways you could paint your finished pumpkin to coordinate with your colours and wedding style, so go nuts! Spray paint does work really well on pumpkins, and you know I am a glitter advocate too – if your numbers have a large enough reveal you could coat the inside faces with glue and apply glitter, to make the carving really stand out!
Let us know what you come up with! See you in November with more great DIY wedding reception ideas :)