
Hey Romancers! I am so pumped to introduce Divinity as a new contributing editor to Capitol Romance! You might remember her from her gorgeous Cherry Blossom engagement session that we featured here on the blog. Well Divinity has an affinity for weddings and has just recently launched her own wedding planning business (look out for Lovebuggs Weddings on Facebook!) and she is going to be sharing some guest posts here on the blog. I know you guys are going to love what she has to share! For today, we have a DIY Tutorial, which I can’t remember the last time we posted something DIY (*sigh*) – so hopefully Divinity can help us change that! So enough from me, take it away Divinity!
DIY Tutorial: How to Make a No-Sew DIY Flower Girl Tutu

This is my first blog post for Capitol Romance and I am very excited to share this amazing DIY Project with you. As a former bride, I wanted to do anything I could to save money but have the wedding I wanted at the same time! So I decided to give a few DIY projects a try! I was hooked after my second one! My favorite project of all was my flower girls tutu. After searching high and low for a reasonably priced tutu, I gave up and decided to turn it into a DIY project. I am very happy to pass this information along and I hope that you find this information helpful!
Materials you will need:
- Scissors
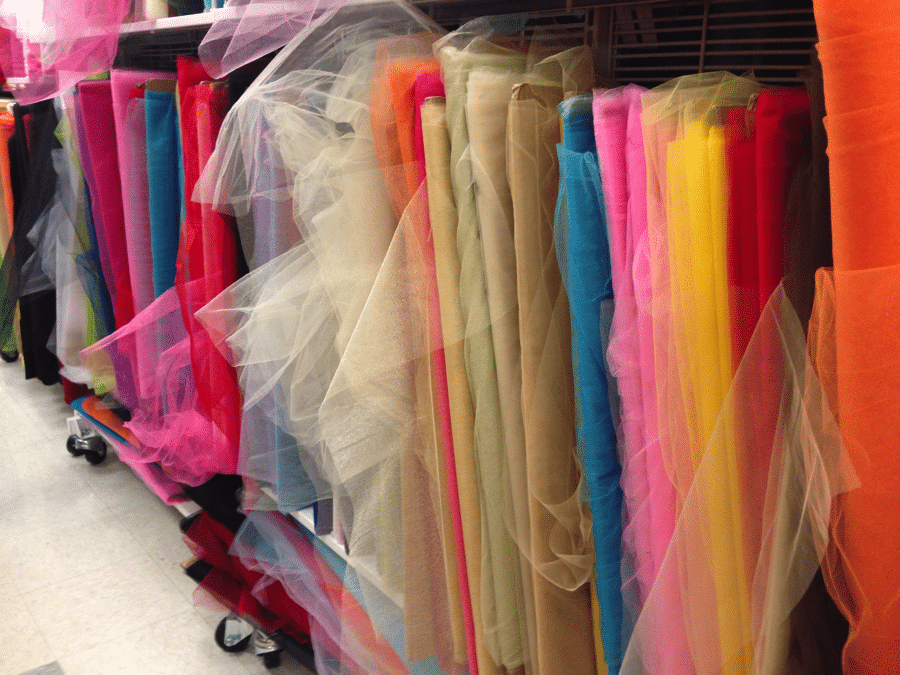
- Tulle Spool (I used 4 6in x 25 yards spools. If you cant find the tulle in the color spool you want, you can always purchase by the yard at Joanne fabric or any fabric store)
- Knit Elastic (I used 1/2” x ½ yards)
- Needle
- Thread (I recommend white to blend into the elastic, but any color will do)
- Ribbon or Sash (I used Celebrate It Sash from Michaels Craft)

Step 1:
Measure the child’s waistline with the elastic band. Once you have found your desired length, cut the elastic band giving an extra 1/2inch. Sew the ends of the elastic band together to complete the first part of your tutu, the waistband.
Step 2:
Using your spool of tulle, figure out the desired length of your tutu. Once you have figured out how long or short you would like the tutu, double the length of the fabric by folding it in half to create a longer piece and cut. Now that you have your first cut piece of tulle, you can use this as a guide to cut all of your individual strands of tulle. The best way to do this is by placing the full length of the pre-cut fabric against the new uncut fabric. Before you cut your new piece of fabric, fold it in half. This way you’re already set to cut your next piece of tulle.
Step 3:
Place the elastic waistband around your legs. This makes it easier to use both hands and creates tension and support for placing the tulle around the band. Working with a single strand of tulle, fold it in half and place the loop under the elastic band. Pull the bottom of the tulle (the open end) up and over the elastic band and through the loop then pull tight. Repeat this step until you have achieved desired fullness and the elastic band is covered.

Step 4:
Simply stitch your ribbon our sash around the waistband of your tutu. You can hand sew all the way around the skirt or but a few stiches up the front and sides of the waistband.
Here is a helpful tip. After you have completed the tutu, if it is not to your desired fullness, simply fluff up some of the pieces underneath the tutu. This helps eliminate bulkiness but gives is the fullest that you want! It’s that simple. [divider line=”true”]
I hope that you have found this post helpful and fun! I can’t wait to see how you style your flower girl in here DIY tutu.
Till next time, LoveBuggs
[icon size=”small” image=”icon-heart”]


5 comments
I love this tutorial and Divinity has helped me make my own tutu before! It’s more fun than buying a pre-made tutu!
Um, forget making this for a child, I want one for ME!
Right?! Esp it being floor-length! Love!
Abby! I make them all the time for my glam clients! You are NEVER too old for a tutu! The Halloween before last I wore a punk rock tutu for the sake of it!
I love making tutus! I make them ALL the time for my Glam sessions! I just made one for a sugar skull shoot I was part of! (photos on fan page) ;)