

Another week, another super rad DIY tutorial from Ribbons & Bluebirds. Today Jenn is bringing the Fall goodness with an adorable DIY Halloween Party invitation (or basic Halloween notecard). Take it away Jenn!
So I know that last week I said you can hang on to summer all year long, but personally my favorite season has always been fall. I love the crisp weather, the gorgeous leaves changing, an excuse to wear boots and jeans and a great oversized sweater… sorry, I got a little carried away there. One of the best parts about Fall is obviously Halloween, and a chance for all of us to throw crazy parties!
A great party starts with a great invitation, and I have a super simple way for you to take your party invites from ordinary to inspired – plus, a free template! (Not having a party? Just want to send some Halloween greetings? WELL you can trim the bottom off the party invitation (and a little off the top) to turn the same template into a 3.5×5 greeting card!)
Let’s get started:
- Template, available here
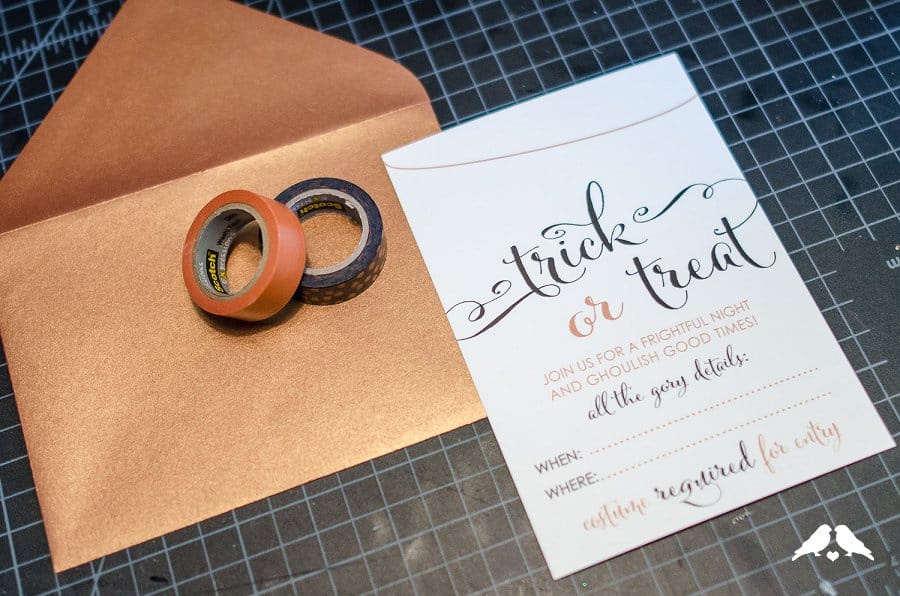
- 5×7 white cardstock and envelope
- Washi tape in a Halloween-esque theme – mine is from Scotch (purchased at Target) or there’s a ton on Amazon: Washi Tape
- Scissors
Step by Step Instructions:
Step 1. Print out the template (available here) on 5×7 cardstock.
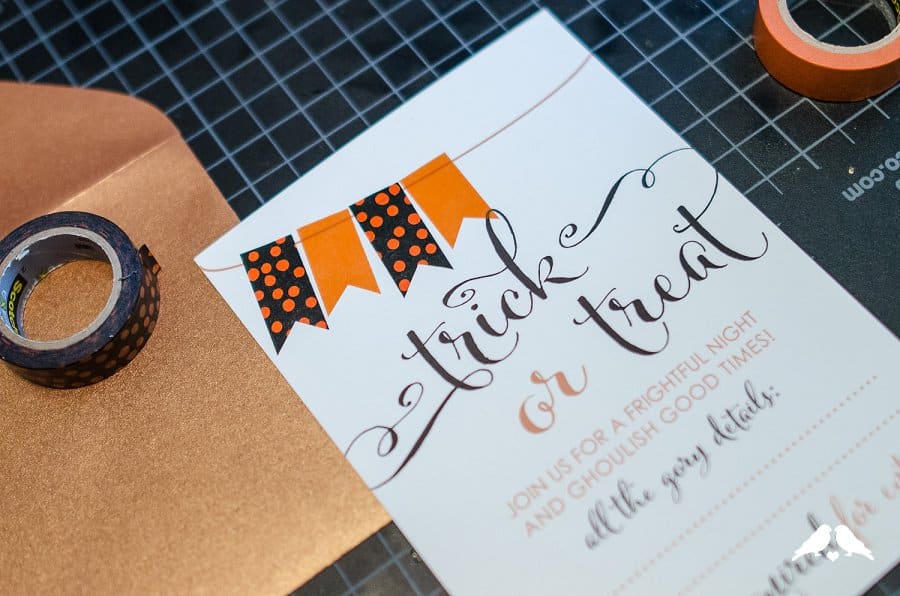
Step 2. Cut a section of washi tape about 1” long or slightly shorter. To cut the “v” ends, you can either hold the tape on one finger and free-cut using your scissors -OR- you can fold the tape slightly lengthwise (good side in) and cut a diagonal notch off the end. When you unfold the tape, you should have a perfect “v” notch.

Step 3. Stick the washi tape to the paper with the flat end just overlapping the printed orange line at the top of your cardstock.

Step 4. Repeat to fill out the printed line. I chose to alternate colours, but this would look great either randomized with a bunch of colours, or all one colour too!
Step 5. When you get to the ends, allow the tape to overlap the edge of the paper and trim off any excess.

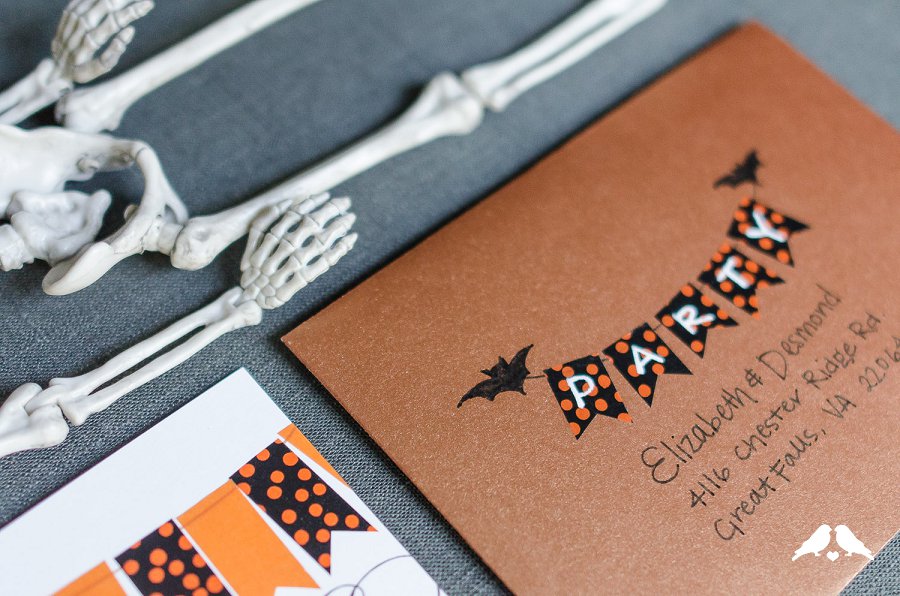
Step 6. You’re all done! Don’t forget to fill out your party details on the invitation, and remember too that you can use the same technique to decorate the envelope!
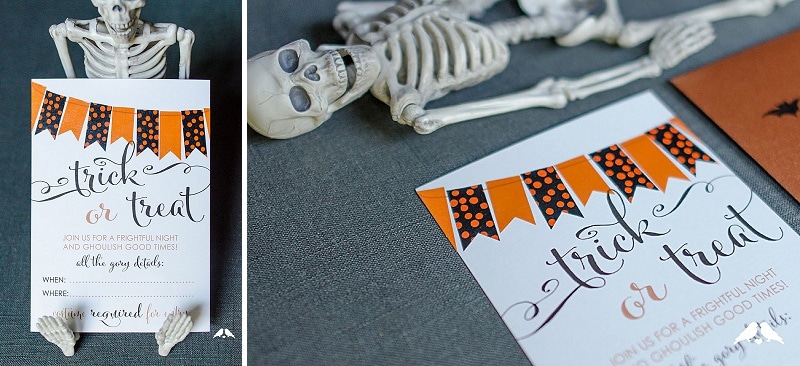
Let us know if you use our DIY tutorial to make these ADORABLE Halloween party printables & notecards! Thanks so much to Ribbons & Bluebirds for yet another awesome DIY!
3 comments
Oh my goodness – calligraphy AND washi tape? I think I may have to make some Halloween cards this year. Thanks for the tutorial!
<3 so glad you like it Michelle!!!