Image: Mathy Shoots People
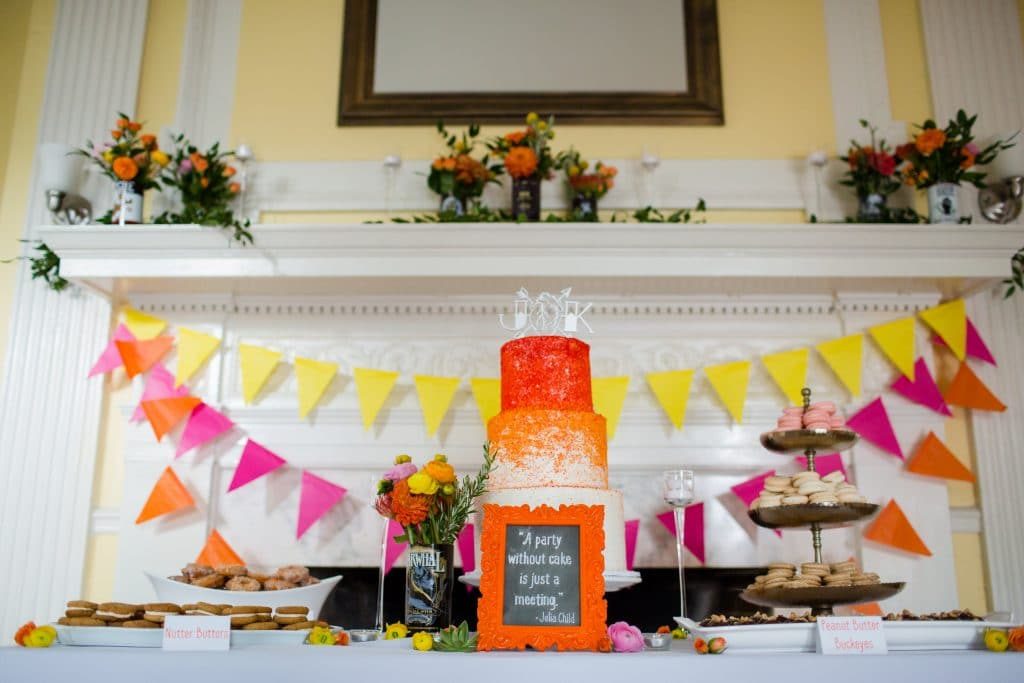
Sometimes I really miss my DIY workshops I used to run! They were work to plan, but learning something new was so much fun (plus I loved meeting all the attendees!). Kara actually attended the DIY Chalkboard workshop we hosted with her not-yet-fiance at the time, and figured they could use the skill for more than wedding signs. Then they got engaged & started wedding crafting and turns out Justin is like a master DIY chalkboard sign crafter! So for today, Kara is sharing the DIY chalkboard signs they made for their kick-ass wedding and some tips/tricks if you want to make your own chalkboard signs as well!
DIY Chalkboard Signs Tutorial | By: Kara Britanik
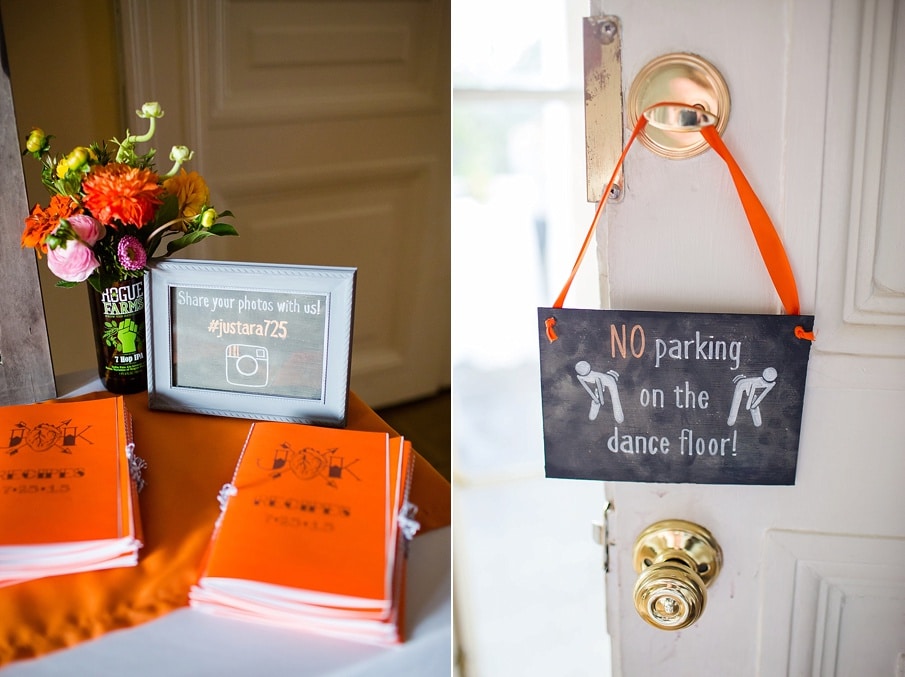
Chalkboard signs as home décor, and especially as wedding décor ,have become super popular over the last couple years. Even if you have terrible handwriting or little artistic ability, you can make some awesome chalkboard signs yourself.
Before I was even engaged, my now husband and I attended the Capitol Romance DIY Chalkboard workshop. We both figured this would be a good skill to learn, and something we could use for more than just our future wedding. This technique that we learned couldn’t be easier, and we put it to good use when it came time to make signs of all sizes for our wedding.
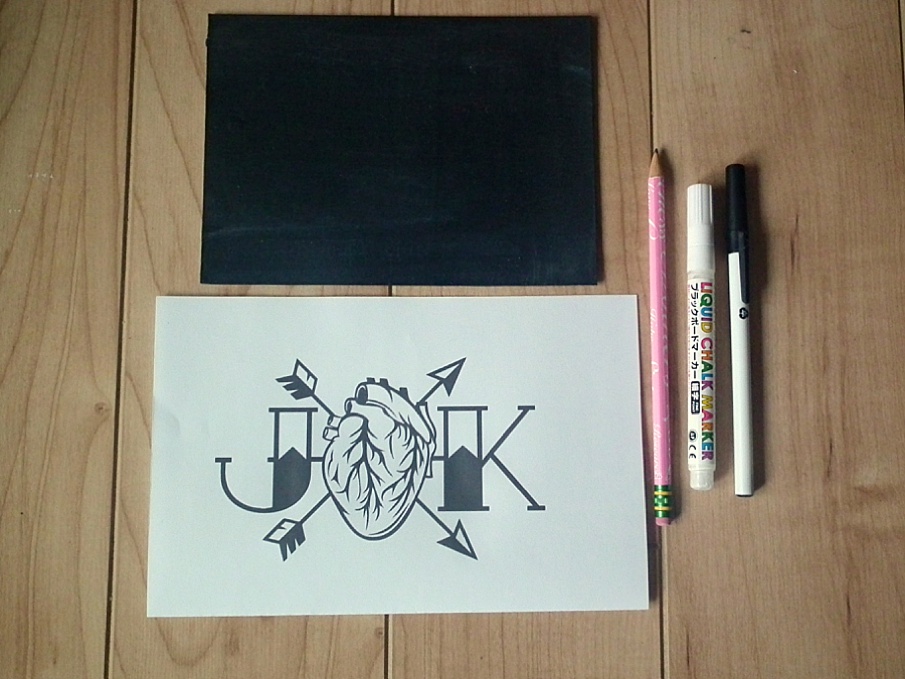
SUPPLIES:
– Painting boards (or whatever surface you want to make into a sign)
– Pencil and pen
– Chalk or chalk pens
STEPS:
Step 1. Paint your surface with the chalkboard paint. You may need to use a couple coats of paint to get even coverage
Step 2. While your paint is drying, create the wording/design for your sign on your computer and print it out. Be sure to size your message to the size of your sign.
Step 3. On the non-printed side of your paper, use your pencil and scribble all over the paper. Make sure your scribbles cover your entire design.

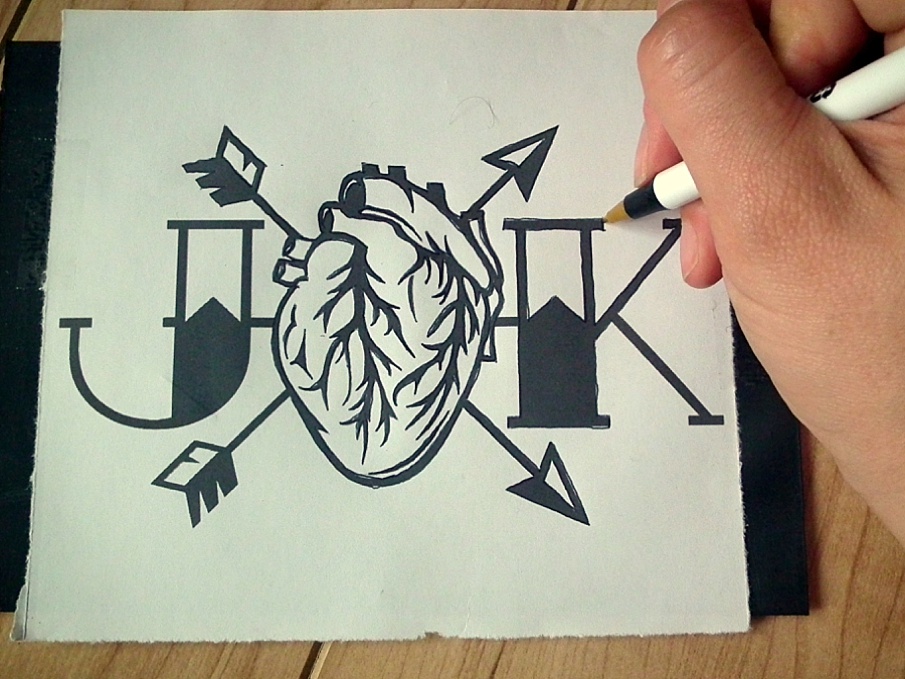
Step 4. Once your sign is dry, place your printed design on top of your sign. You want the printed design facing up. It’s helpful to secure your design to the sign so it doesn’t move during the next step.
Step 5. With your pen, trace your design. This will transfer your design to your sign with the pencil lead that is on the back of the paper.
Step 6. Once you’ve traced the entire design, lift your paper. You should be able to see the outline of your design on your sign.
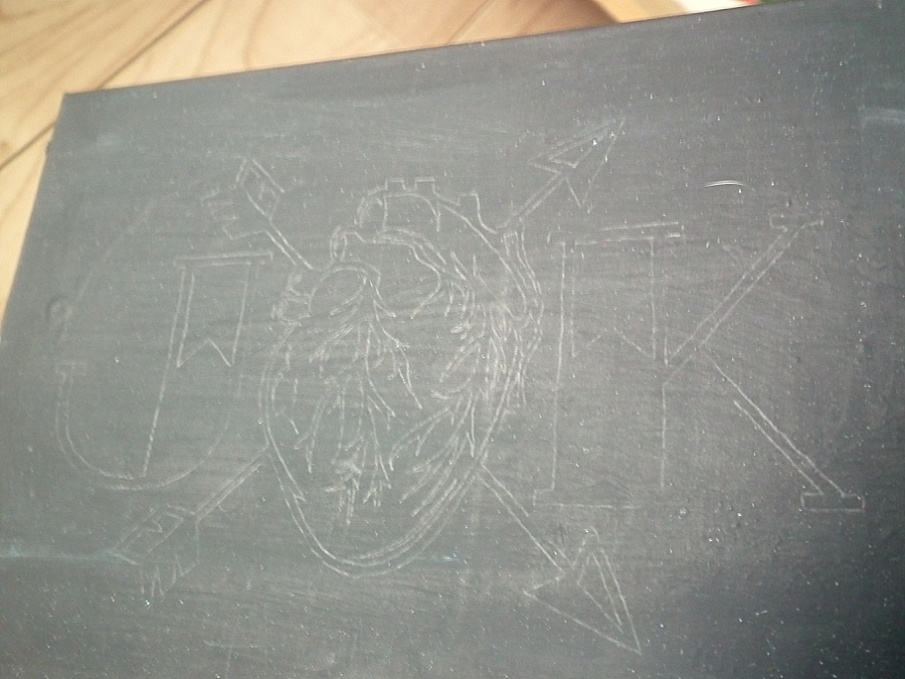
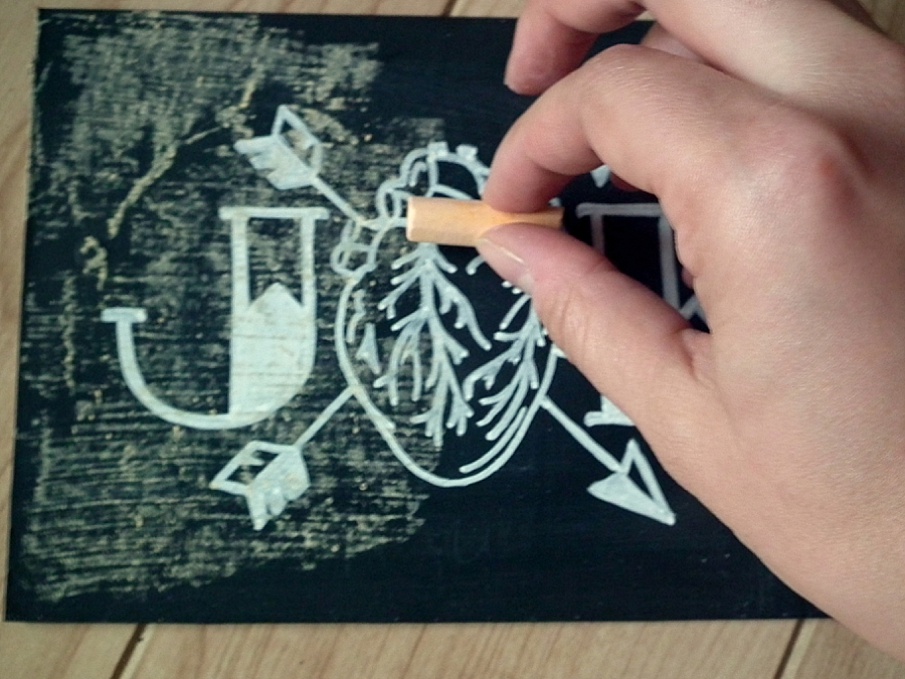
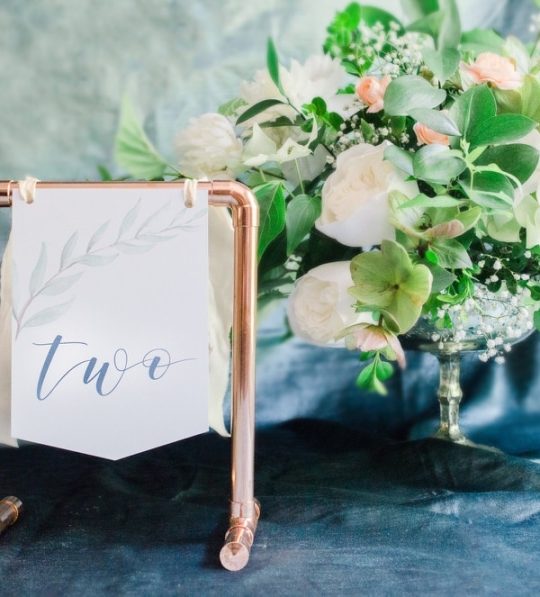
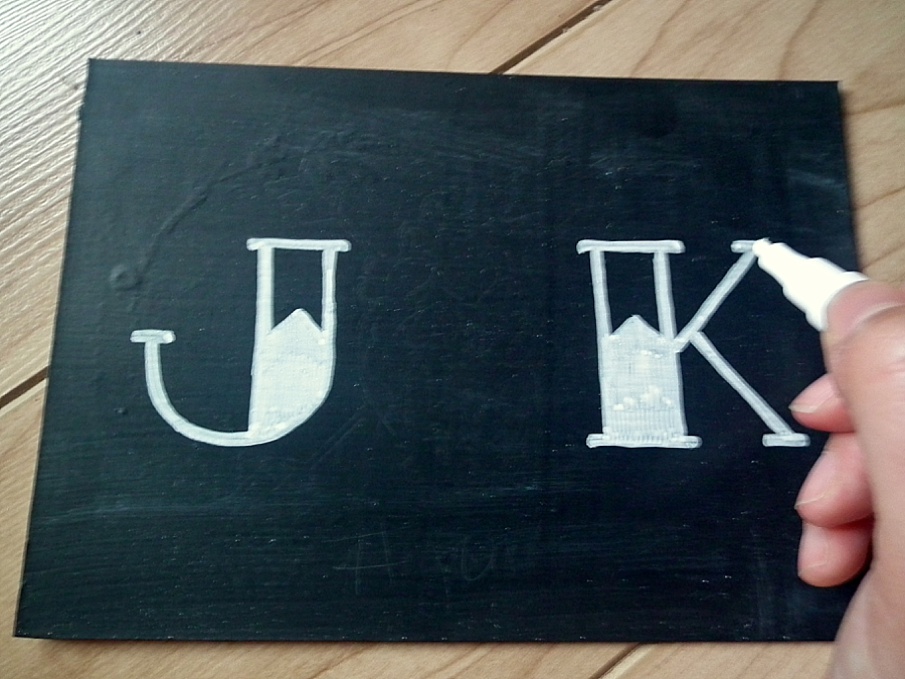
Now you can use your chalk or chalk pens to outline/fill in your design on your sign. Using a chalk pen will give you clean, crisp lines, and the design will be permanent.
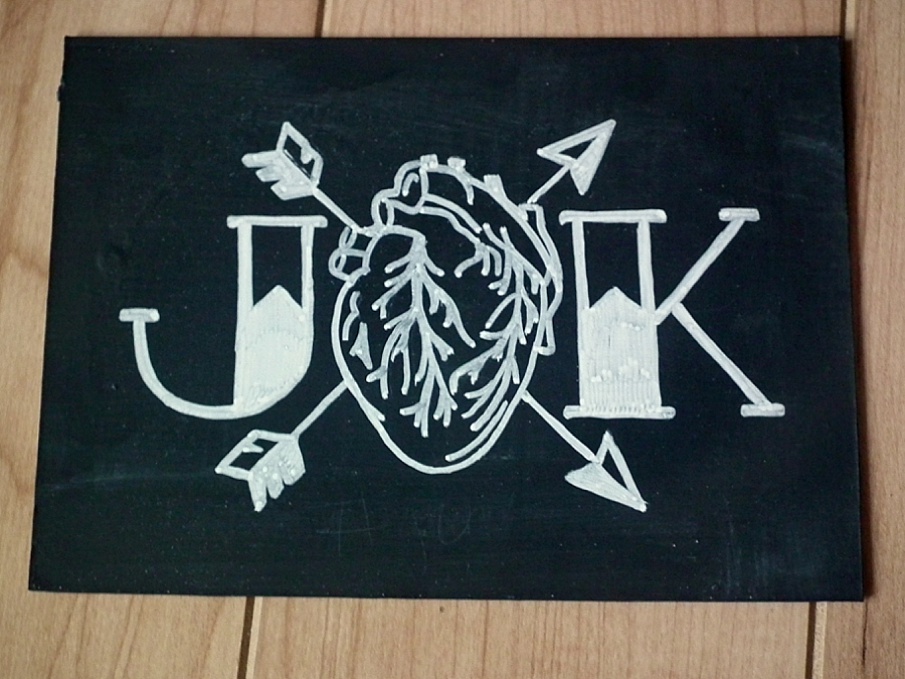
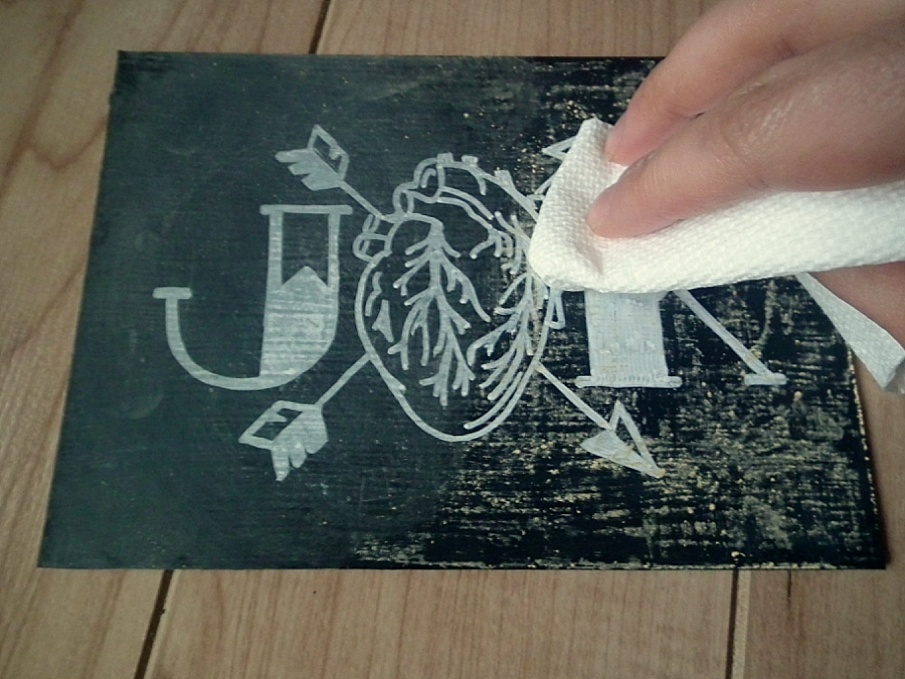
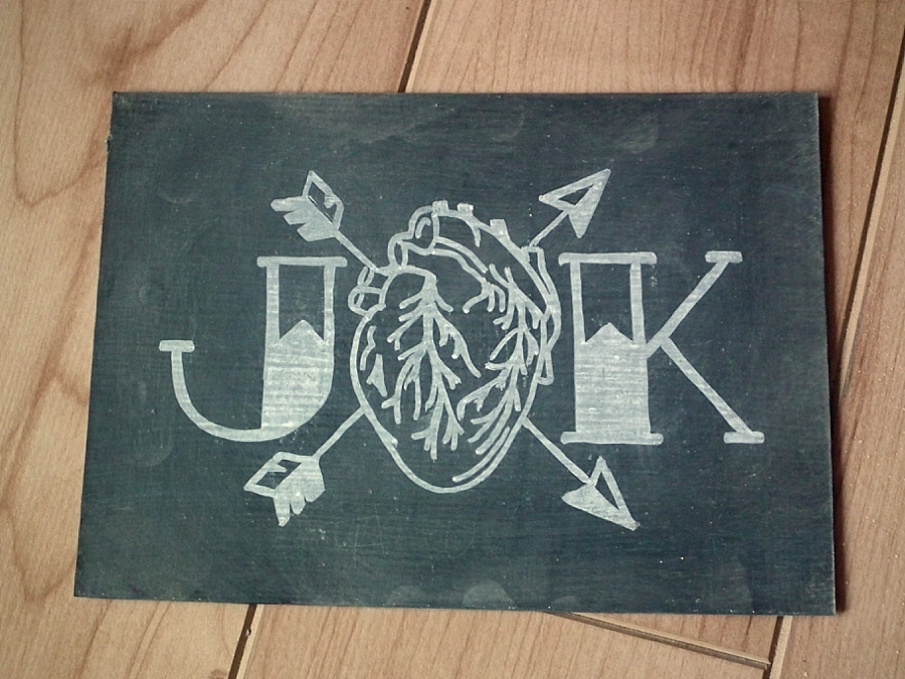
Last step!! And your done! If you want a more authentic chalkboard appearance, use the side of a piece of chalk to shade in the entire sign. Then blend it all together with a dry paper towel.